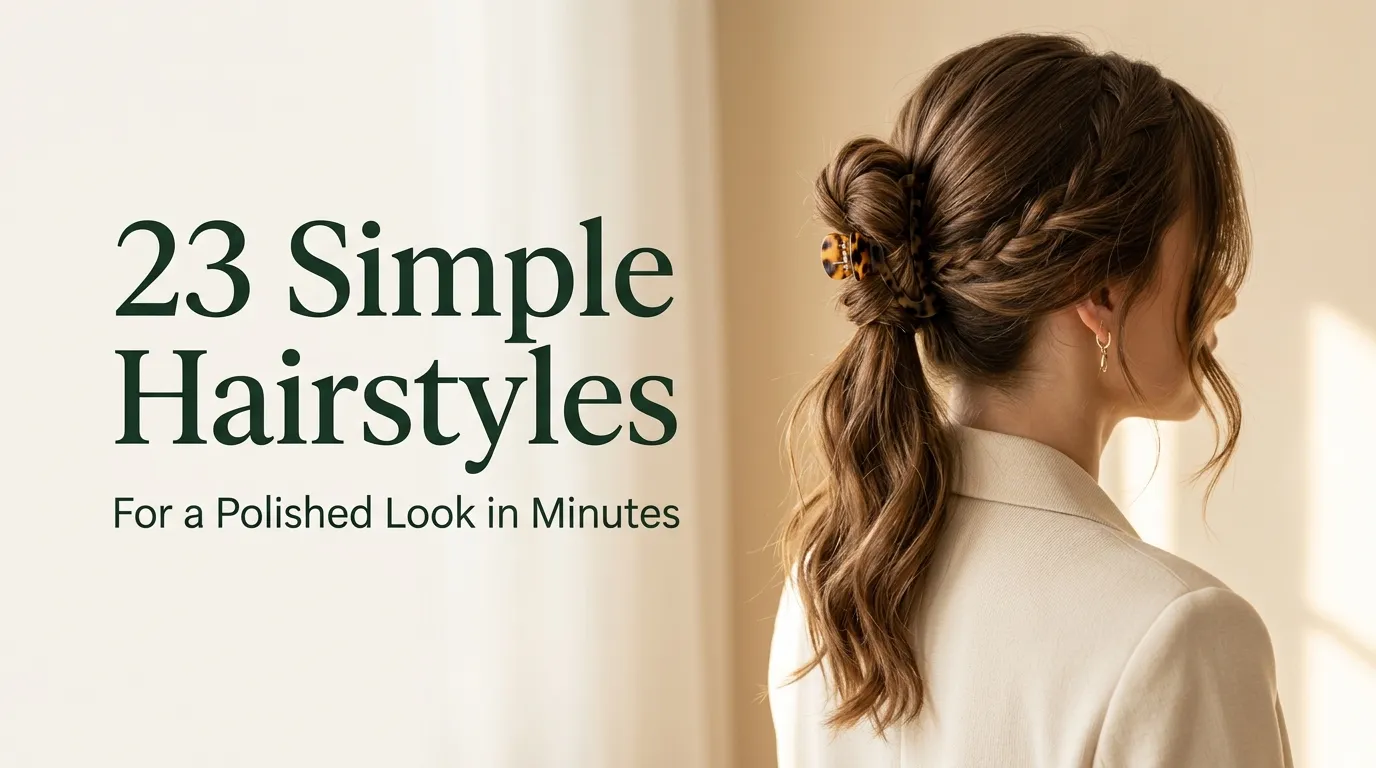
23 Simple Hairstyles for a Polished Look in Minutes
Some mornings, you have only a few minutes to make your hair look polished. The right style can make that short window feel surprisingly manageable.
These simple hairstyles are designed for busy days when you want neat, stylish hair without spending ages in front of the mirror. From sleek ponytails and soft buns to braids, twists, and easy clip styles, each idea focuses on practical techniques you can actually use. You will find options for different hair lengths, textures, outfits, and occasions, so you can choose a look that fits your routine. In my experience, small changes such as smoothing the roots, changing your part, or adding one simple accessory can make everyday hair feel much more intentional.
Sleek Low Ponytail
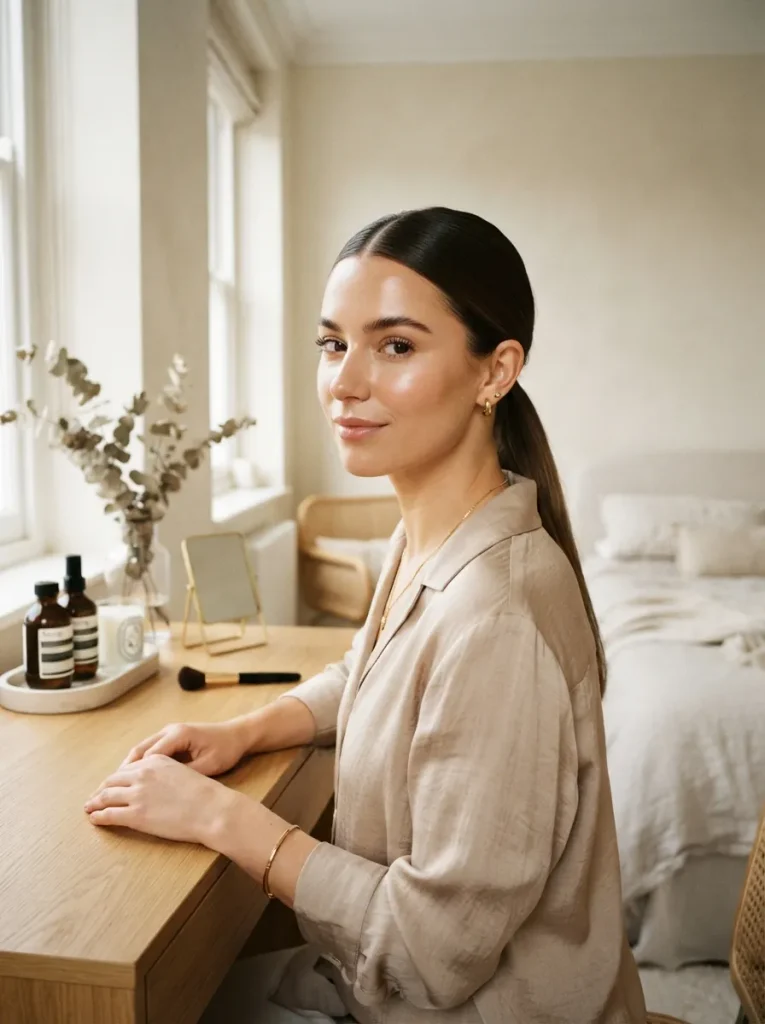
A sleek low ponytail can make rushed mornings look surprisingly put together. Start with a clean center or side part, then smooth the hair toward the nape using a fine-tooth comb. Secure it with a small elastic and wrap a thin strand around the base for a refined finish.
For extra shine, rub a tiny amount of lightweight serum between your palms and smooth it over the surface. In my experience, keeping the ponytail low prevents it from looking overly formal while still giving the face a neat frame. It also works especially well with sweaters, blazers, and simple everyday outfits.
Claw Clip Twist
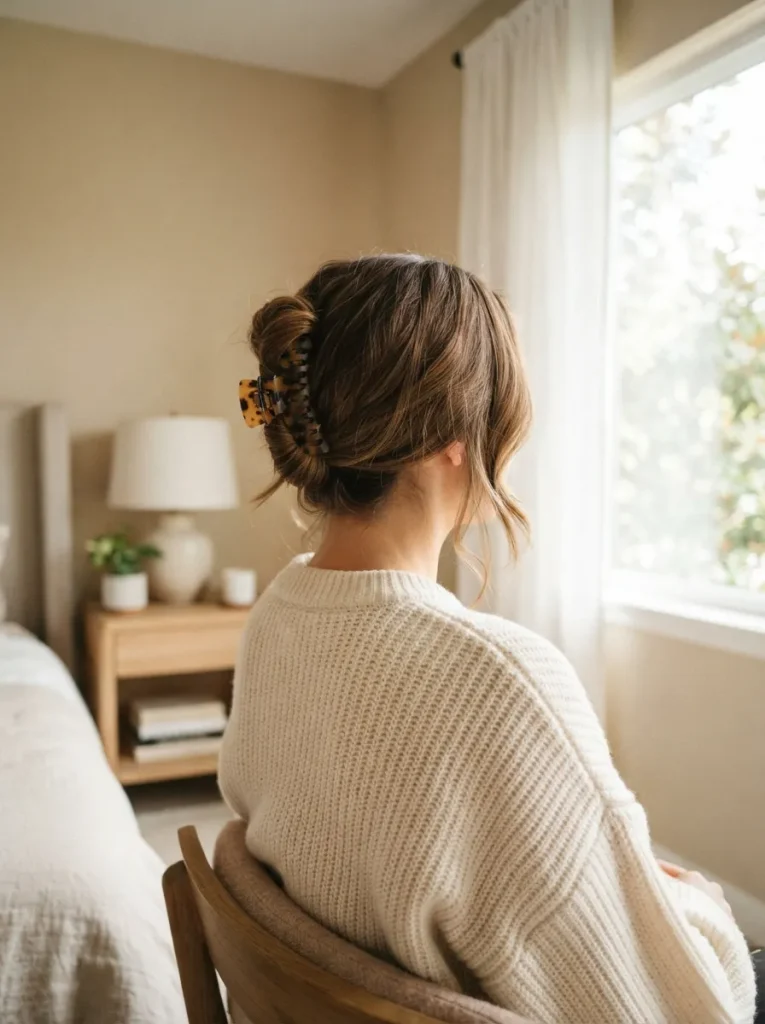
- Gather the hair loosely at the back of your head.
- Twist the length upward until the ends point toward the crown.
- Fold the twist against your head and tuck the loose ends underneath.
- Secure everything with a medium claw clip.
- Pull out two fine face-framing pieces for a softer finish.
This quick style works especially well on second-day hair because a little natural texture gives the twist better grip. For more hairstyle inspiration, browse the hairstyles guide for additional ways to work with different lengths and textures. Keep the clip firm but comfortable so the style stays secure without creating pressure.
Soft Half-Up Style
Quick Tip:
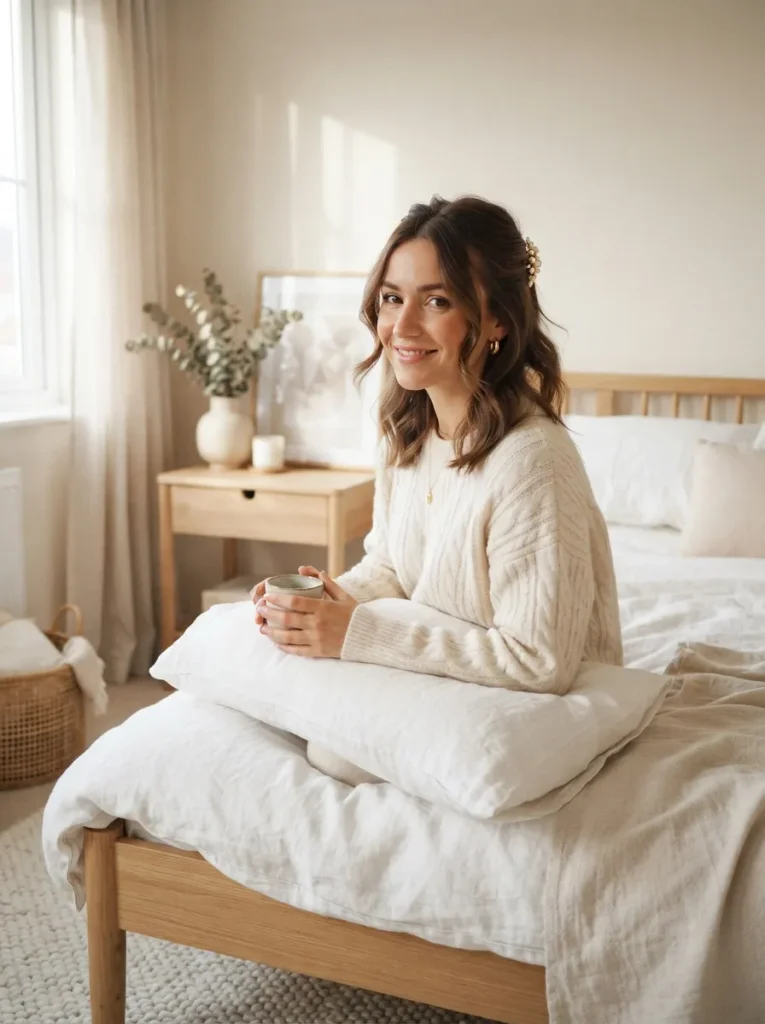
Leave the crown slightly lifted instead of pulling the upper section completely flat. A little volume keeps the style fresh and prevents the top from looking too tight. For fine hair, gently tease the underside before securing it.
A half-up style gives you the neatness of an updo while keeping the rest of your hair loose and touchable. It takes only a few minutes, yet the result feels intentional. I’ve noticed this approach works particularly well for busy mornings, casual lunches, and days when you want your hair away from your eyes without fully tying it back.
Polished Side Bun
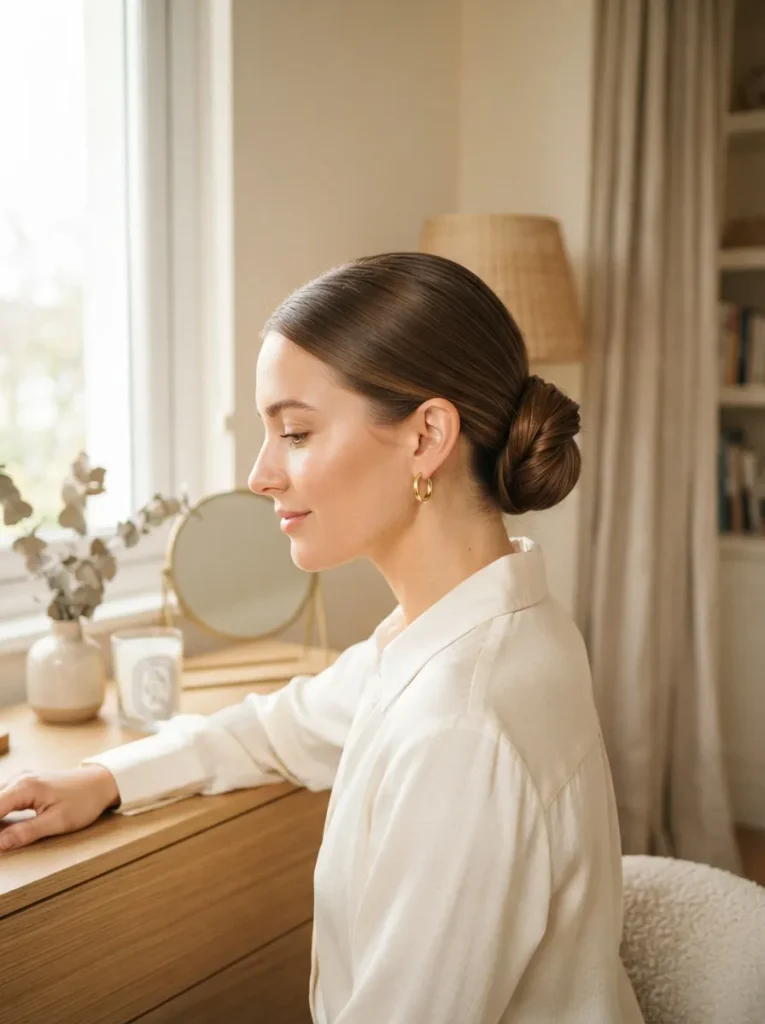
BEFORE:
Loose hair can look unfinished when the roots are flat and the ends are uneven. Flyaways around the face may also make the style feel less intentional.
AFTER:
A low side bun gathers the hair neatly while keeping the look soft. Smooth the front, sweep the hair behind one ear, then secure the bun just below the ear for an understated finish.
This style takes only a few minutes but creates a noticeably polished appearance. Keep the bun slightly relaxed rather than tightly wrapped, especially if your hair has natural waves. A few delicate strands around the temples can soften the overall shape without making the style appear messy or unfinished.
Sleek Hair Tuck
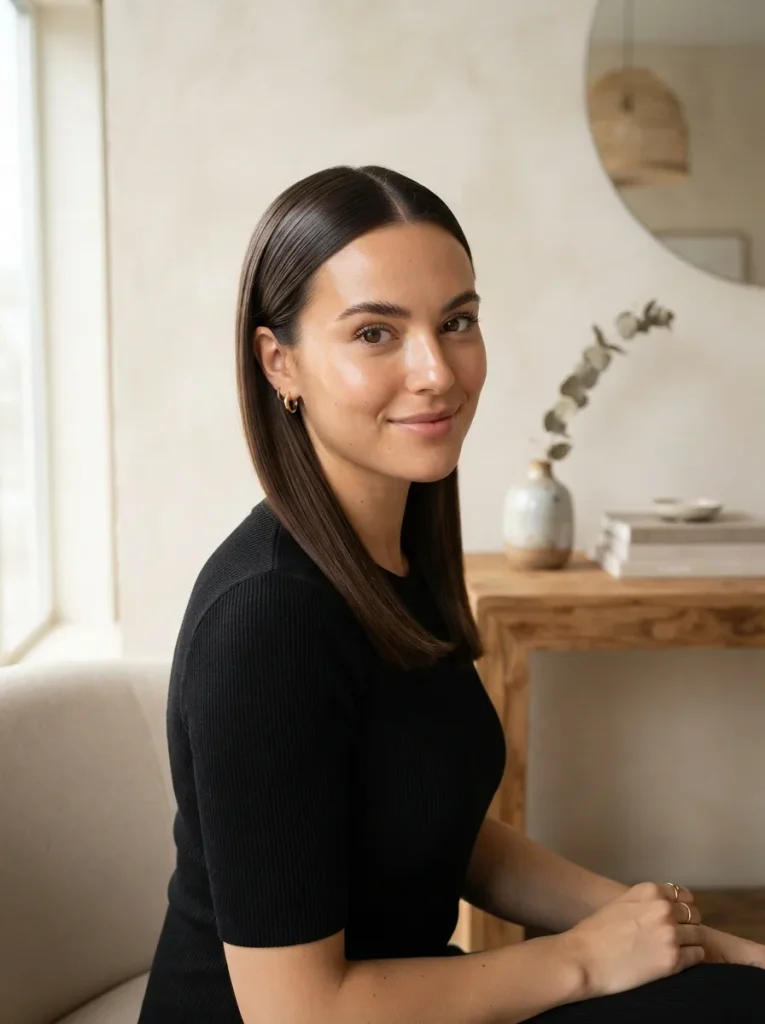
- Create a clean center or slightly off-center part.
- Brush the front sections smoothly toward the ears.
- Apply a small amount of smoothing cream to control flyaways.
- Tuck both sides securely behind the ears.
- Finish with a light mist of flexible hairspray.
The tucked style is especially useful when you want your hair down without constant adjustment. Smooth roots give it a sharper finish, while natural movement through the lengths keeps it from looking stiff. For more variations based on hair length and styling needs, explore this hairstyle inspiration guide.
Low Bun Options
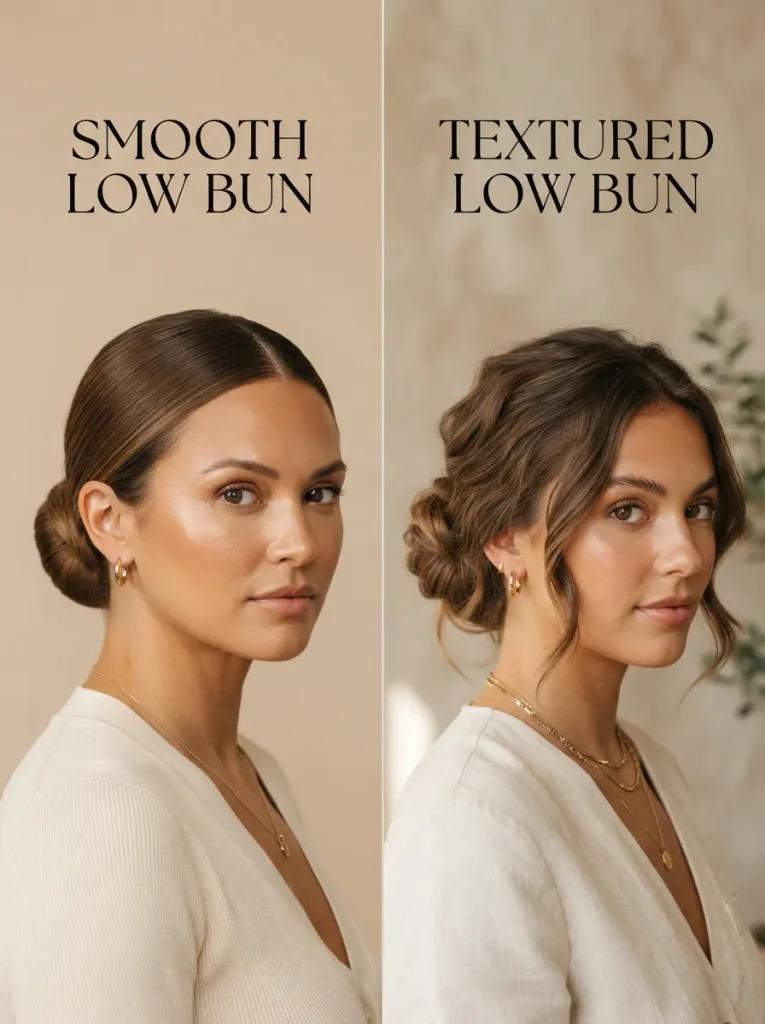
| Comparison Point | Option A: Sleek Bun | Option B: Textured Bun |
| Finish | Smooth and refined | Soft and relaxed |
| Best Hair Type | Straight or fine | Wavy or textured |
| Styling Time | About 3 minutes | About 4 minutes |
| Best Setting | Work or formal plans | Casual or everyday wear |
Both versions create a neat appearance without requiring complicated styling. Choose the sleek version when you want a cleaner silhouette, or keep some texture for a softer result. I’ve seen textured buns hold especially well when the hair has a little natural grip, so freshly washed hair may need light styling spray first.
Side-Swept Waves
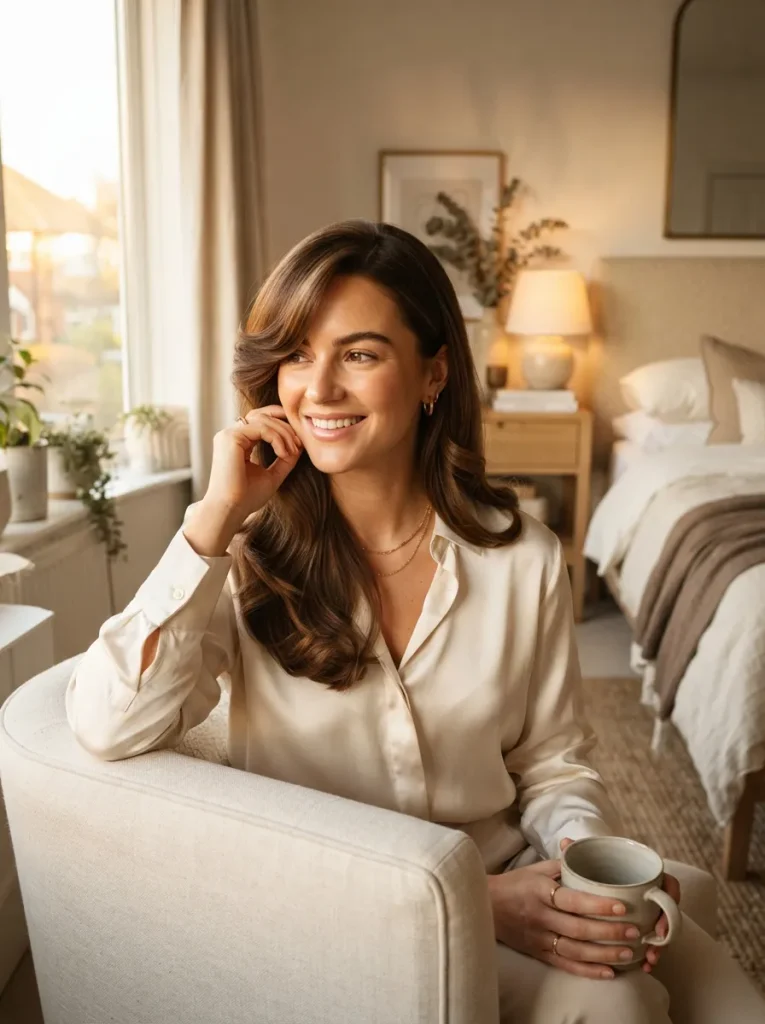
DO:
- Part the hair deeply to one side for an instant shape change.
- Create loose waves from mid-lengths toward the ends.
- Brush through the curls gently for softer movement.
- Finish with light hairspray around the crown and sides.
DON’T:
- Curl every section tightly from root to tip.
- Overload the hair with heavy styling products.
- Brush the waves while they are still hot.
- Make both sides perfectly identical.
Side-swept waves add movement while keeping the overall look relaxed and polished. They work especially well when you have a few extra minutes but do not want a complicated routine. Keep the ends slightly loose rather than curled tightly, which helps the finished style look modern and natural instead of overly formal.
Straight Ends Ponytail
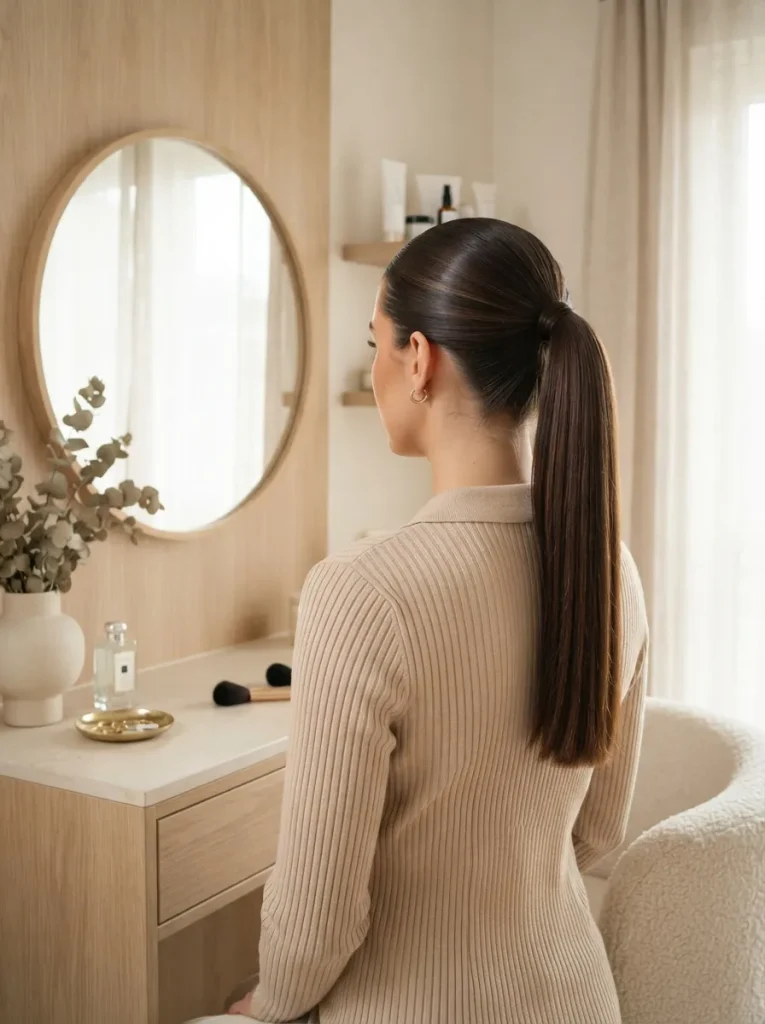
Time: 3 to 5 minutes
Skill Level: Beginner
Best For: Medium to long hair
Finish: Smooth and structured
A straight-ended ponytail gives everyday hair a crisp, intentional shape without complicated techniques. Brush the crown smoothly, secure the ponytail at your preferred height, then use a straightener on the ends if needed. In my experience, a small amount of serum through the lengths helps control frizz without weighing down the roots.
Loose French Twist
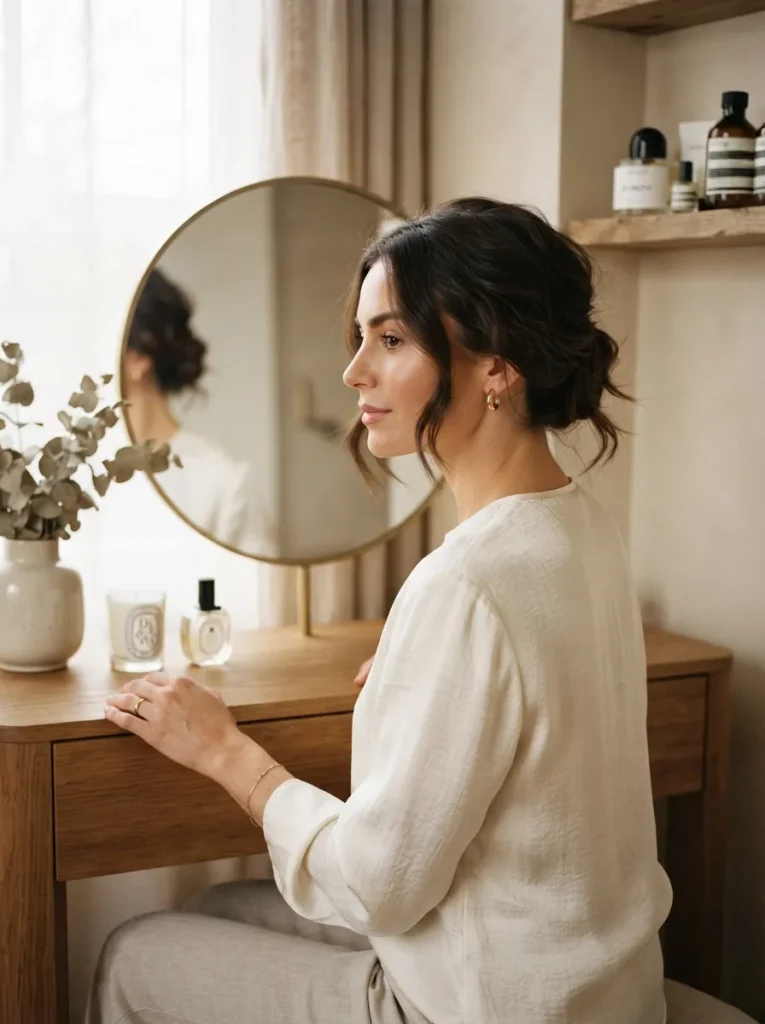
A relaxed French twist brings a refined shape to the hair while taking less effort than a tightly structured updo. Gather the hair at the nape, twist it upward, tuck the ends inward, and secure with discreet pins. Keep the surface slightly loose for a softer everyday finish.
This look becomes easier once you find the right pin placement. Insert pins across the twist rather than only at the top, then gently loosen the crown for natural volume. It works particularly well for medium to long hair and pairs nicely with simple earrings, collars, and clean necklines.
Ribbon Ponytail
- Secure a smooth ponytail at the middle of the back of your head.
- Choose a narrow satin ribbon in cream, black, brown, or muted pink.
- Tie the ribbon firmly around the elastic without pulling the hair.
- Let the ribbon tails fall naturally down the ponytail.
- Smooth a tiny amount of serum over visible flyaways.
A ribbon adds personality without requiring a complicated styling routine. Neutral ribbons keep the look sophisticated, while deeper shades create more contrast against lighter hair. This is one of those simple hairstyles that can make a basic ponytail feel intentionally styled, especially for brunches, workdays, or casual gatherings.
Twisted Front Sections
Quick Tip:
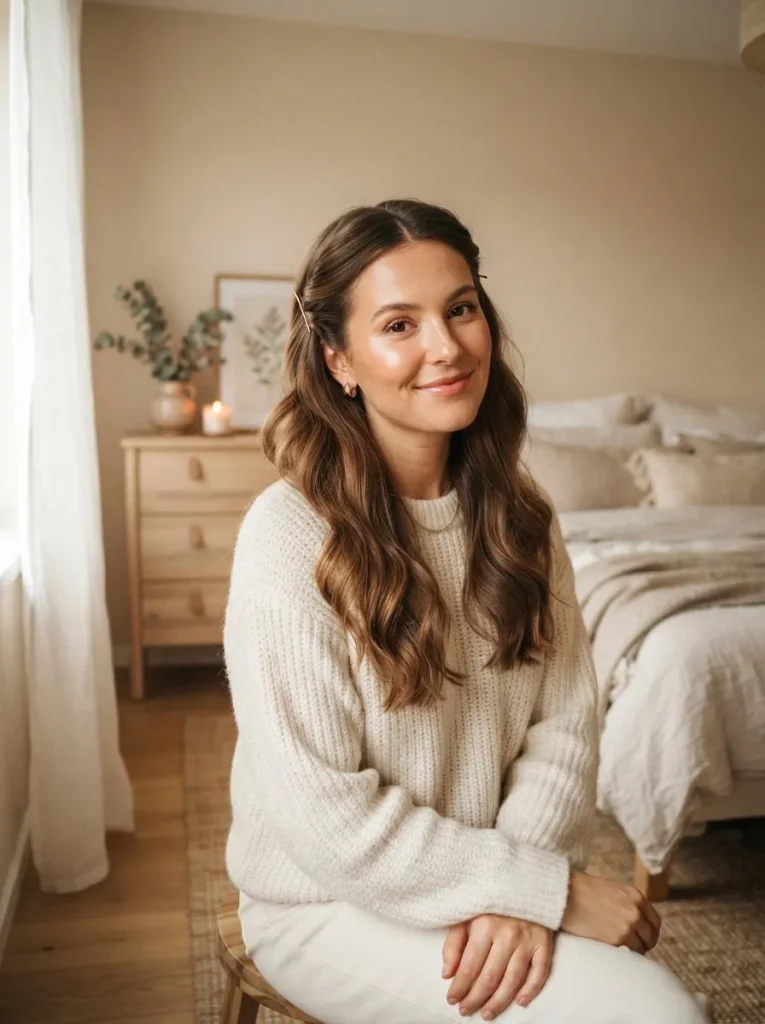
Twist each front section away from the face before securing it behind the ear. Keep the twists loose rather than tightly pulled so the crown retains natural volume. Small bobby pins hidden beneath the hair will hold the sections securely.
This technique keeps hair away from the face while leaving the rest of the length loose. It is especially useful on mornings when you want a tidy appearance without styling your entire head. For more variations using different lengths, textures, and finishes, explore this hairstyle inspiration collection. A small decorative clip can also add a subtle finishing detail.
Polished Messy Bun
BEFORE:
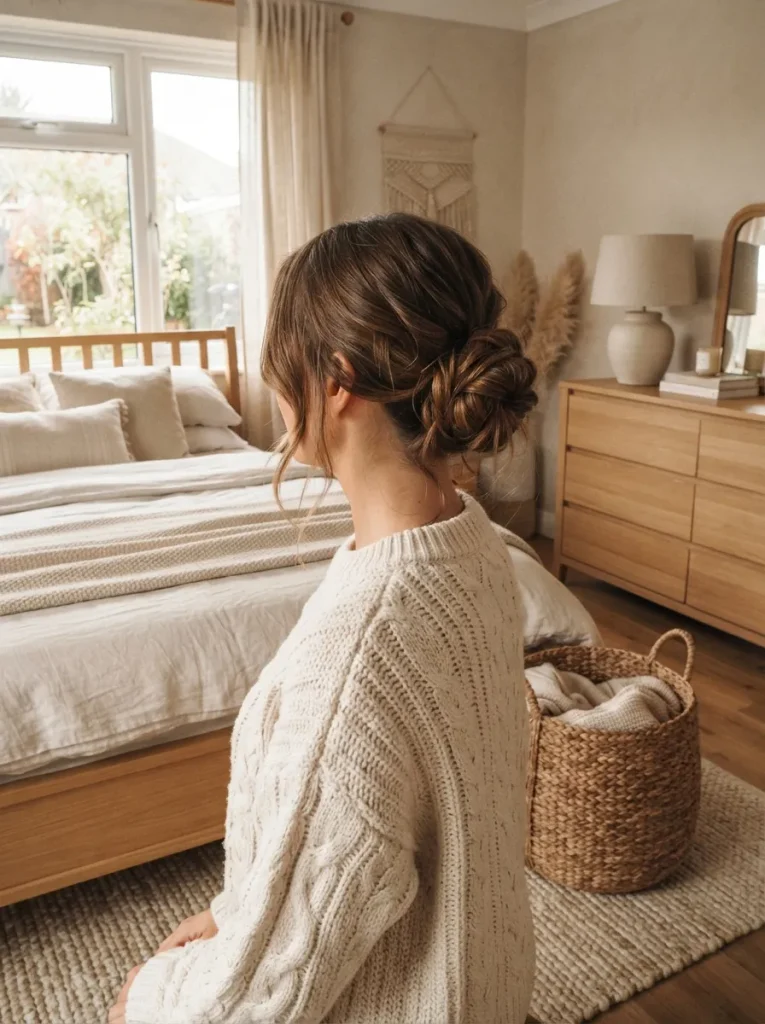
A rushed bun can leave uneven tension, bulky sections, and loose pieces around the crown. Pulling every strand tightly may also make the style look severe.
AFTER:
A polished messy bun keeps the practical shape but adds controlled texture. Gather the hair loosely, twist it into a bun, secure it with pins, then gently loosen a few sections around the crown and temples.
The key is controlled looseness. Keep the bun secure at its base while allowing a little texture through the surface. I’ve noticed this approach works particularly well with second-day hair because natural grip helps the bun stay together. Finish with flexible hairspray rather than a heavy product that can make the texture look stiff.
Braided Low Ponytail
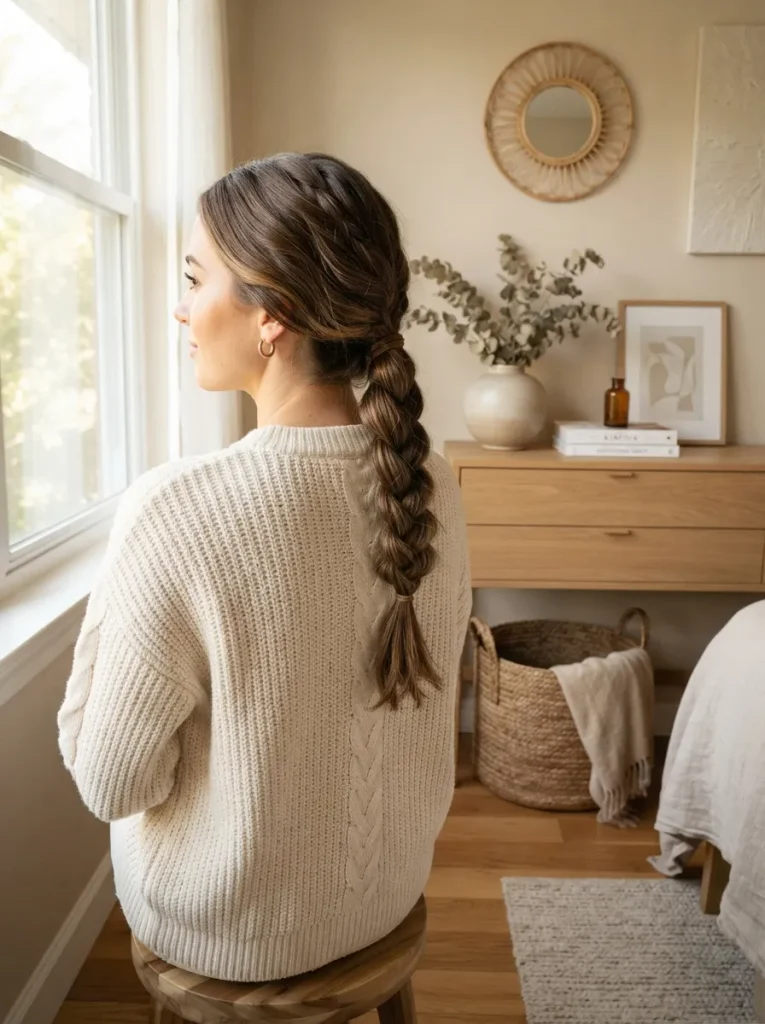
DO:
- Brush the hair smoothly before securing it at the nape.
- Divide the ponytail into three even sections.
- Braid the length loosely enough to keep natural movement.
- Secure the end with a small neutral elastic.
DON’T:
- Pull the braid so tightly that it becomes stiff.
- Leave large uneven sections between each braid.
- Use a bulky elastic that distracts from the style.
- Overload the hair with heavy finishing products.
A low braid adds texture while keeping the hair controlled and tidy. It suits busy mornings because the technique is simple once the three sections are established. Keep the braid slightly relaxed for a softer finish, then gently pull a few outer loops if you want more width through the length.
Smooth Headband Style
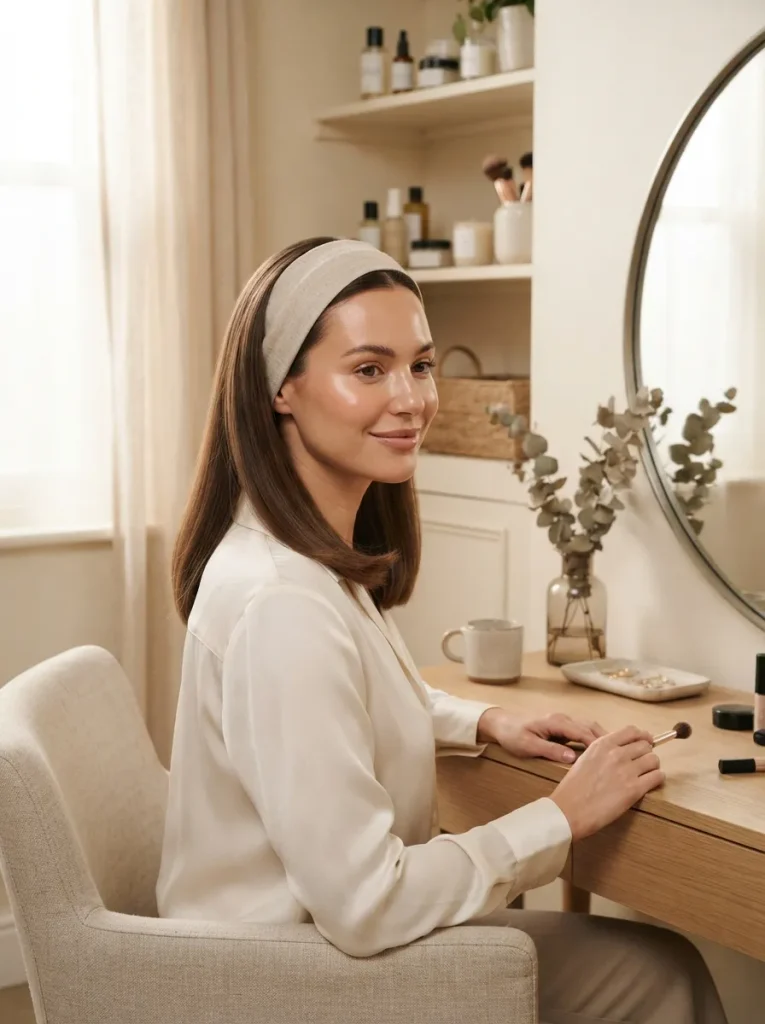
Time: 2 to 4 minutes
Cost: Low
Skill Level: Beginner
Best For: Straight, wavy, or lightly textured hair
A simple headband can quickly organize the front of the hair while leaving the lengths natural. Choose a padded fabric style for a softer appearance or a slim band for a cleaner finish. I’ve noticed neutral shades such as beige, brown, cream, and black are especially easy to coordinate with everyday outfits.
Wrapped Low Pony
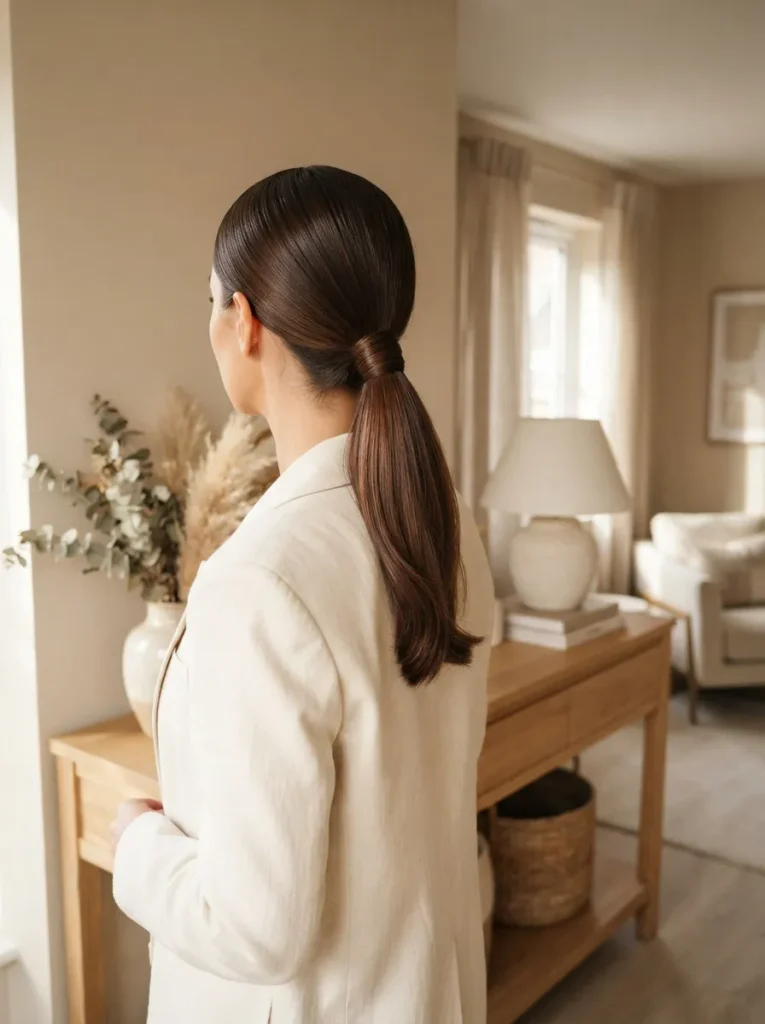
| Styling Point | Option A: Visible Elastic | Option B: Wrapped Base |
| Finish | Casual and simple | More polished |
| Extra Step | None | Wrap one hair section |
| Time | About 2 minutes | About 4 minutes |
| Best Use | Everyday errands | Work or outings |
Wrapping the base takes only an extra minute but gives the ponytail a cleaner finish. After securing the hair, take a narrow section from underneath the ponytail and wrap it around the elastic. Pin the end underneath, then smooth the surface lightly. This small detail works especially well with straight or softly waved hair.
Textured High Ponytail
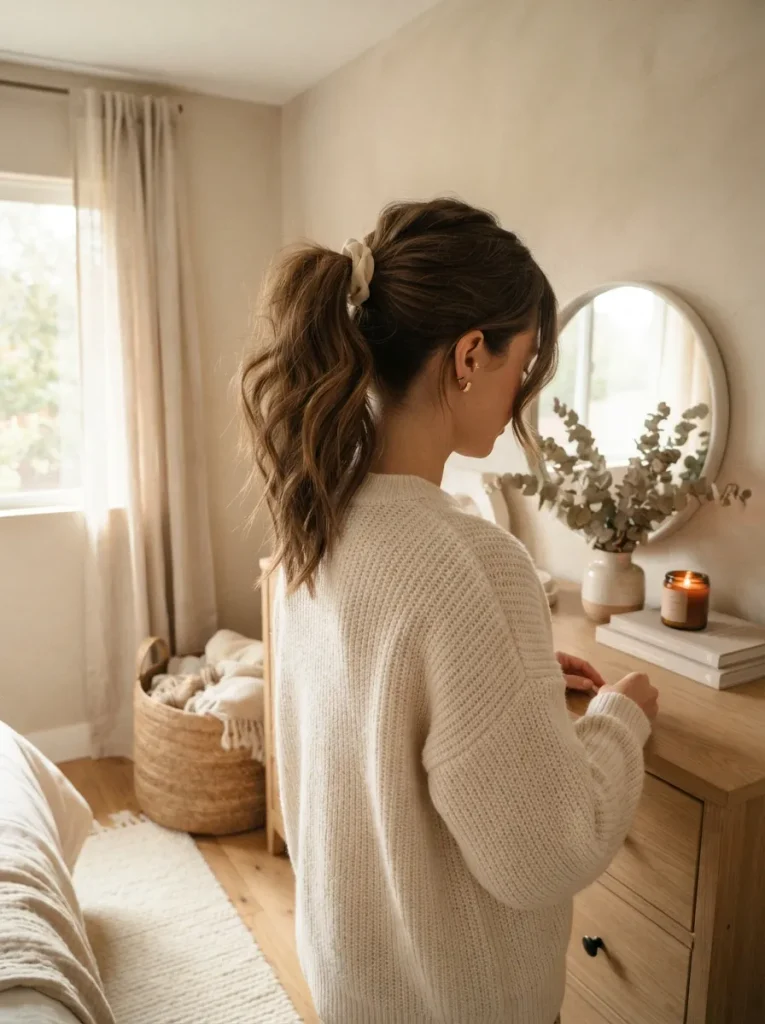
- Brush the roots upward and gather the hair near the crown.
- Secure the ponytail firmly with a strong elastic.
- Gently loosen the crown with your fingertips for added height.
- Wrap a small hair section around the elastic and pin it underneath.
- Scrunch the ponytail lightly to bring out natural texture.
The higher placement creates instant lift around the face, while soft texture keeps the style approachable rather than overly formal. For extra fullness, lightly backcomb the underside of the ponytail before securing it. This technique is particularly helpful for fine or medium-density hair that tends to fall flat during the day.
Minimalist Hair Barrette
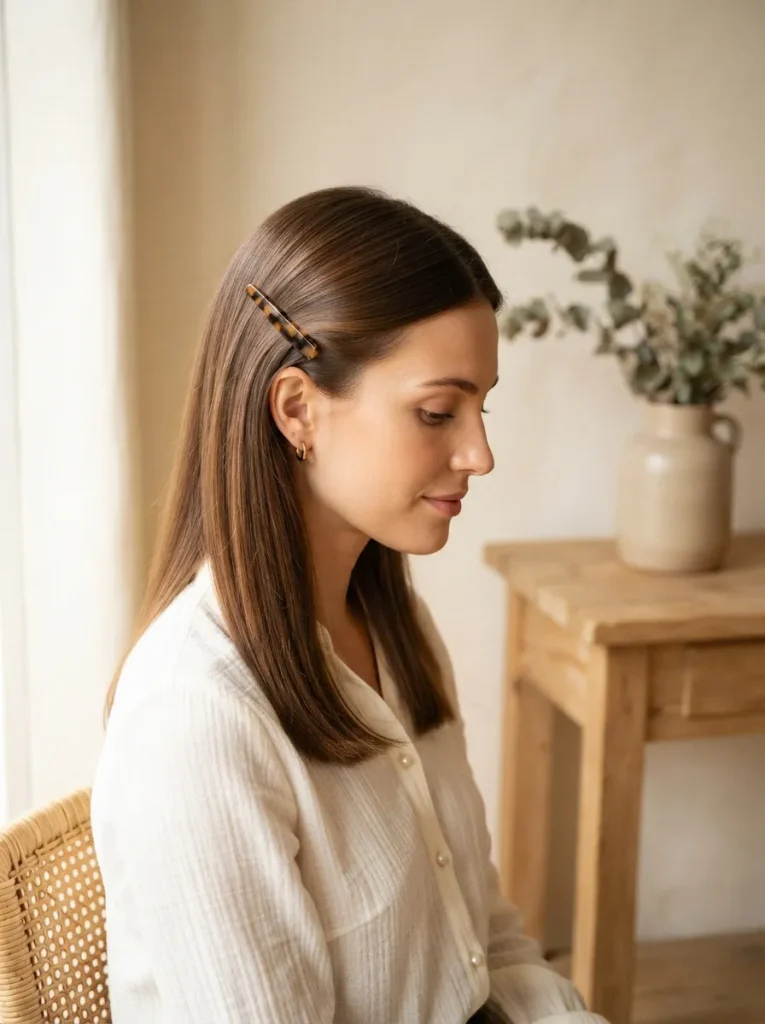
| Feature | Option A: Slim Barrette | Option B: Statement Barrette |
| Visual Effect | Subtle and clean | Noticeable focal detail |
| Best Hair | Fine to medium | Medium to thick |
| Placement | Behind one ear | At the side or back |
| Overall Style | Minimal and polished | Decorative and expressive |
A barrette can organize loose hair without changing the entire hairstyle. Slide it over a small side section after smoothing the hair, making sure it grips enough strands to stay secure. For an understated everyday finish, choose tortoiseshell, matte brown, black, or cream rather than an overly ornate design.
Polished Rope Braid
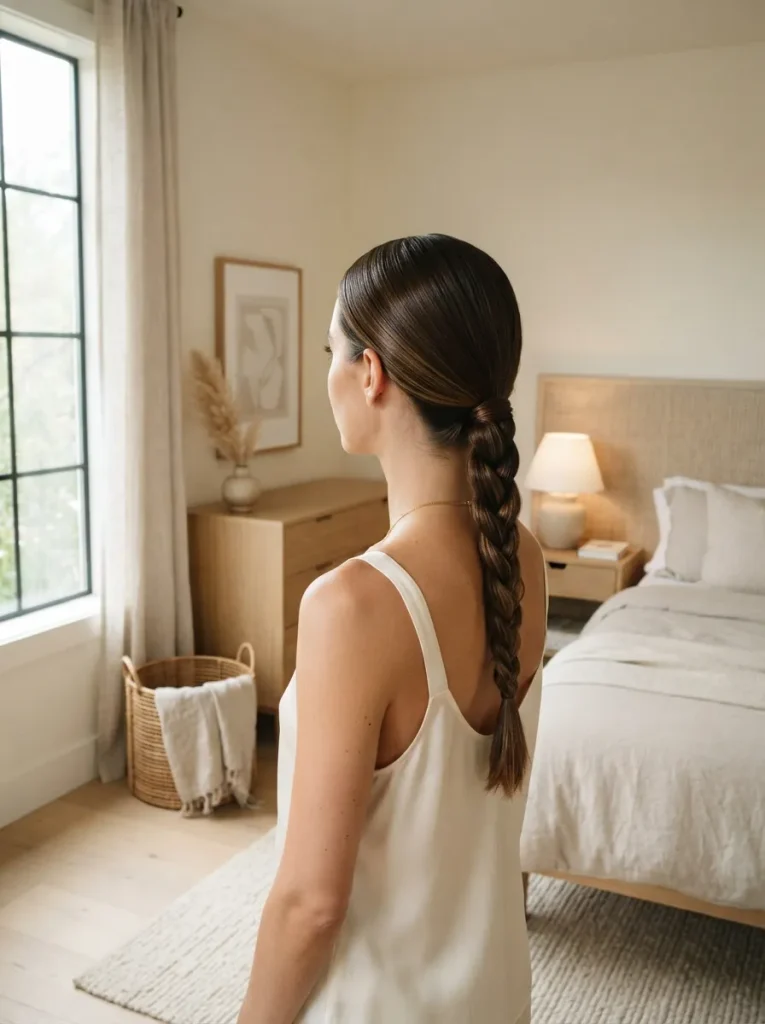
DO:
- Gather the hair into a low ponytail.
- Divide it into two equal sections.
- Twist both sections in the same direction.
- Cross them together in the opposite direction.
- Secure the end with a small elastic.
DON’T:
- Twist the sections in different directions.
- Make the braid extremely tight.
- Use too much smoothing product before twisting.
- Leave the ends unsecured.
The rope braid creates a clean, graphic texture with very little styling time. Its two-section technique also makes it easier for beginners who find traditional three-strand braiding tricky. Keep the tension even from top to bottom, then gently loosen the finished braid for a fuller appearance that still feels neat.
Soft Low Braid
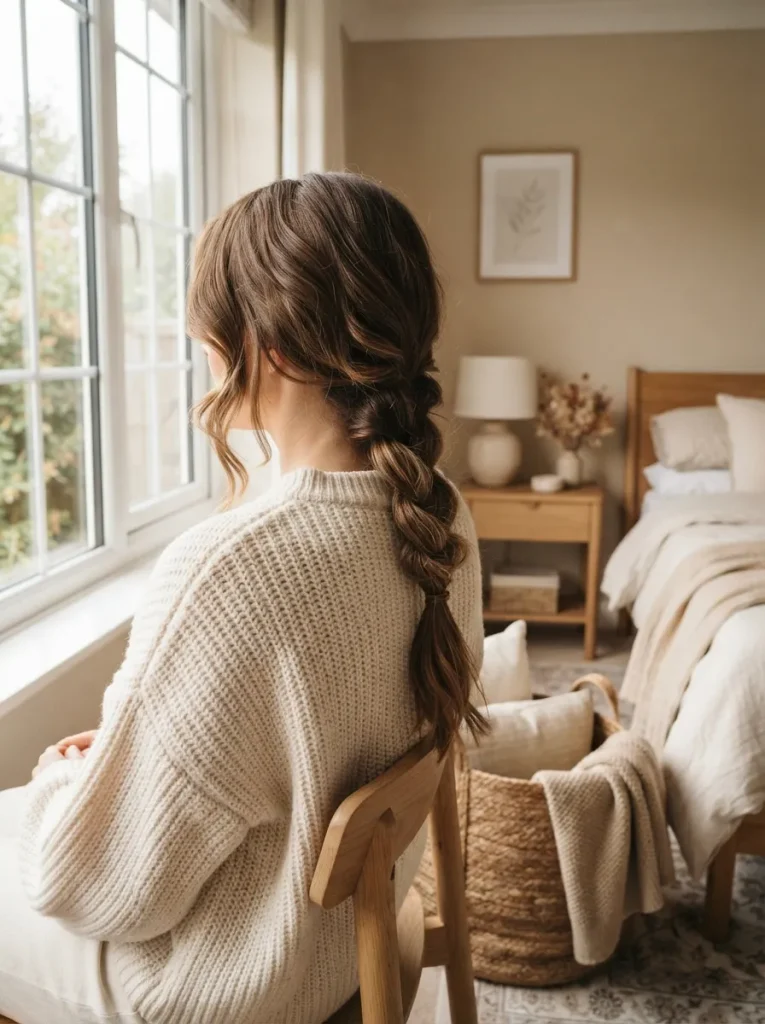
Time: 4 to 6 minutes
Skill Level: Beginner
Best For: Medium to long hair
Works In: Casual, work, and weekend settings
A low braid keeps long hair controlled while adding subtle texture through the back. Start with a low ponytail or braid directly from the nape, depending on your preference. Keep the tension moderate so the finished style has movement rather than looking rigid. A tiny amount of smoothing cream can tame flyaways.
Face-Framing Tuck
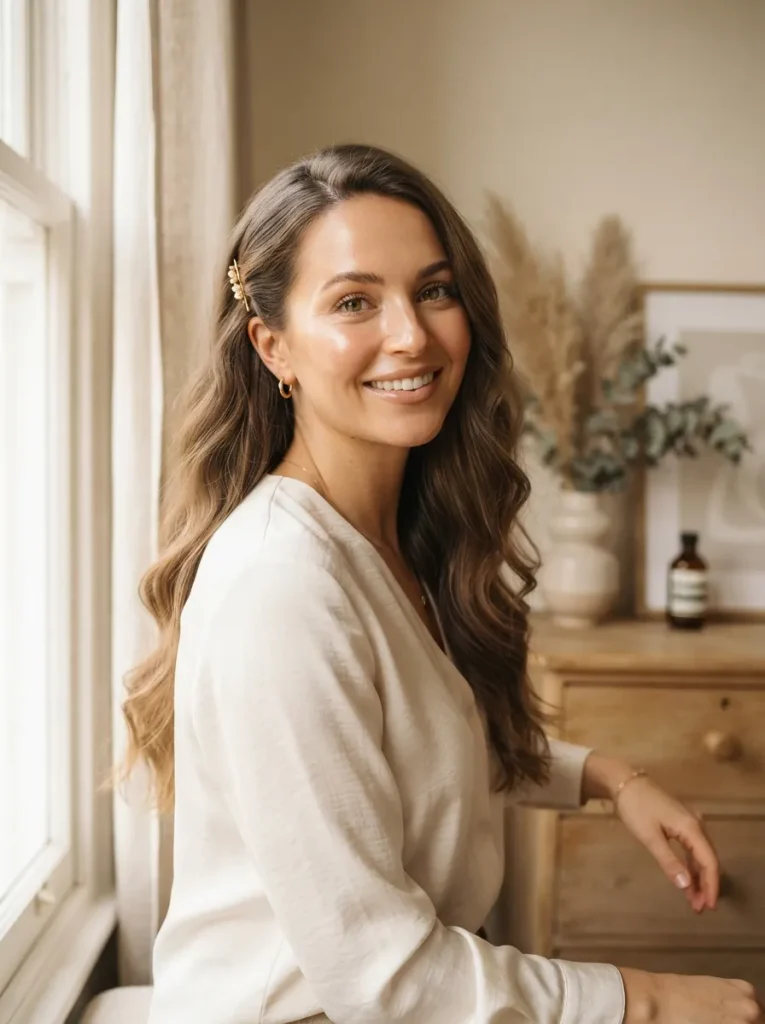
A few carefully placed strands can change the entire feel of loose hair. Start by creating a clean part, then brush one front section backward and secure it behind the ear with a discreet pin. Leave the opposite side loose for balance and natural movement.
For a smoother finish, lightly apply styling cream to the section before pinning it. The contrast between the controlled side and flowing length keeps the look polished without making it feel overly styled. This technique is also useful on days when the front layers are falling into your face. For more hairstyle variations, visit the hairstyles guide.
Satin Scrunchie Bun
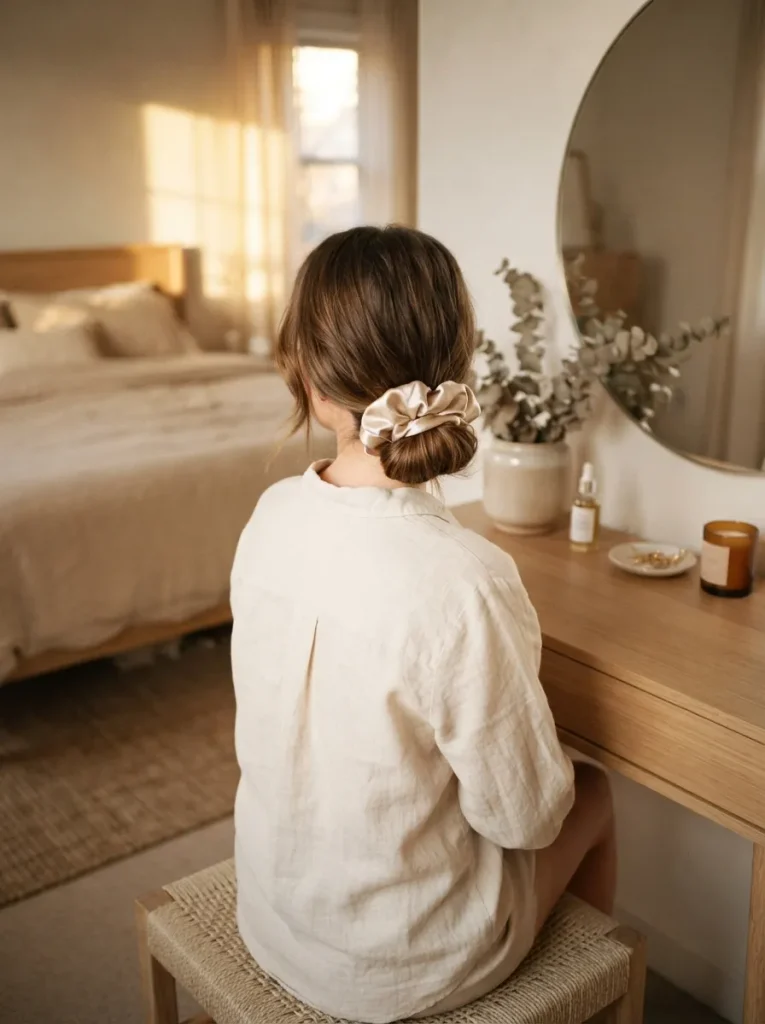
- Choose a satin scrunchie that complements your hair color or outfit.
- Gather the hair into a low or mid-height ponytail.
- Twist the length loosely around the base.
- Wrap the scrunchie around the bun until it feels secure.
- Pull a few small sections loose for softer texture.
A satin scrunchie adds a polished finishing detail while being gentle on the hair compared with tighter elastics. Cream, champagne, brown, and black work well with neutral wardrobes. For a fuller bun, lightly twist the ponytail before wrapping it, then loosen the outer edges with your fingertips.
Sleek Middle Part
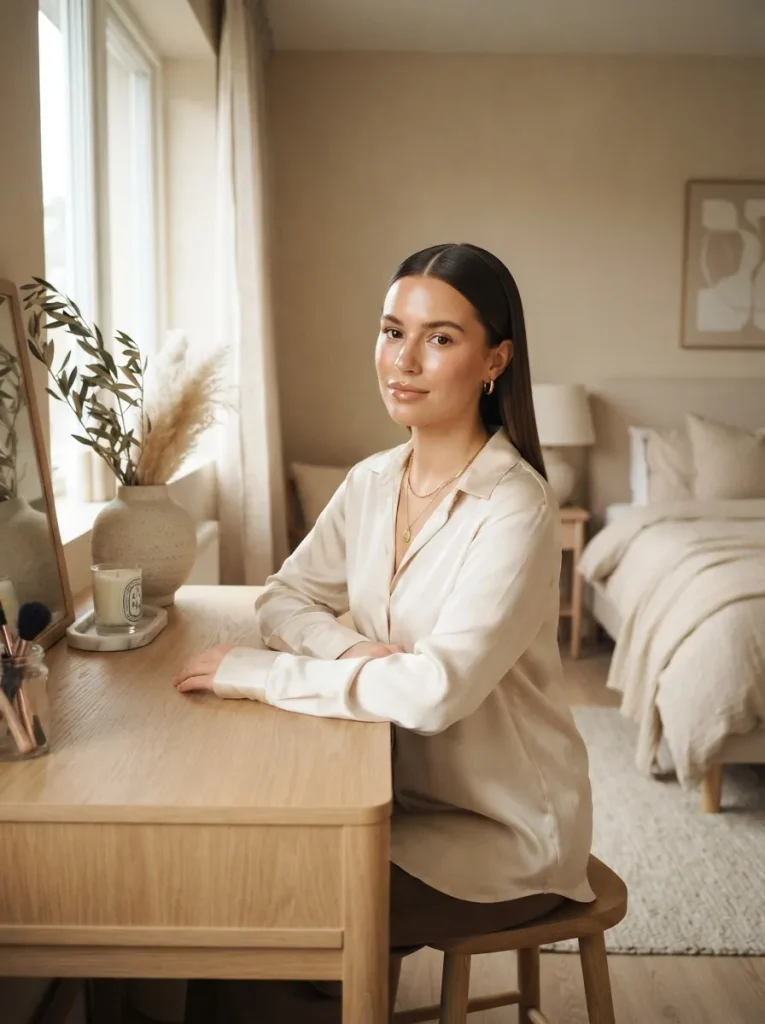
Quick Tip:
Create the part while the hair is slightly damp or freshly smoothed so it stays defined. Use the pointed end of a tail comb for a clean line, then apply a tiny amount of lightweight serum over the top layer.
A defined middle part gives loose hair an instantly organized appearance without requiring an elaborate style. Keep the lengths straight or add subtle waves below the cheekbones for movement. I’ve noticed that controlling the roots matters more than adding lots of product, especially when the goal is a clean everyday finish.
Low Twisted Ponytail
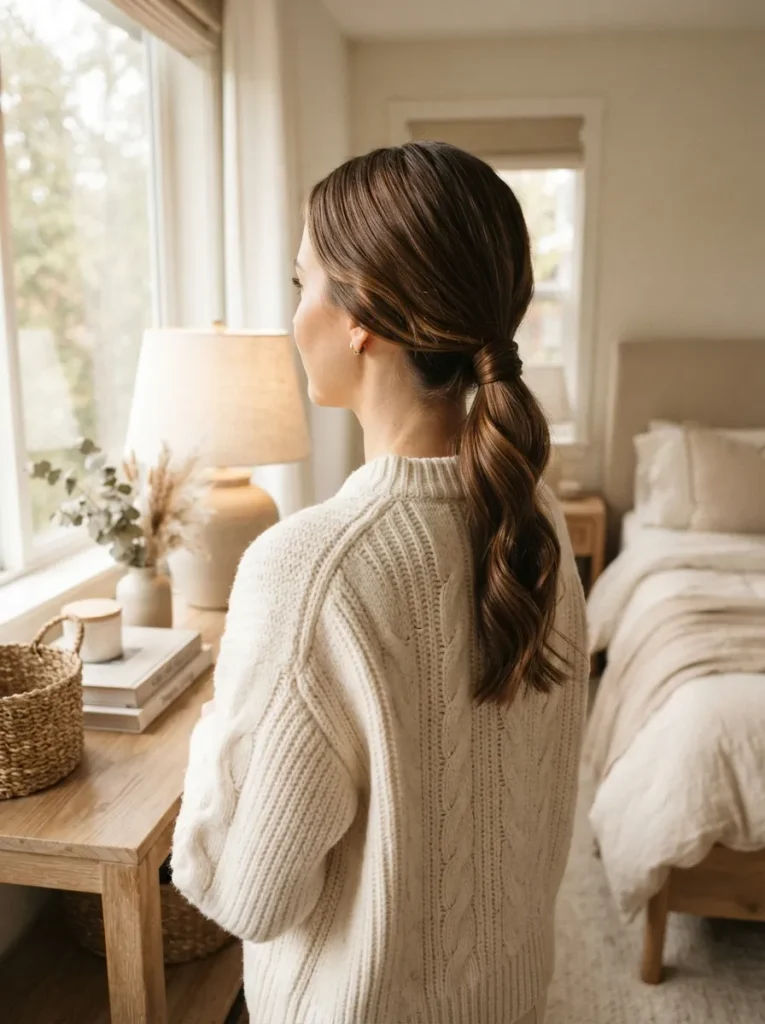
BEFORE:
A basic low ponytail can sometimes look flat or unfinished, particularly when the crown lacks shape. Loose strands may also distract from an otherwise neat appearance.
AFTER:
A simple twist adds visible texture while keeping the ponytail low and practical. Split the gathered hair above the elastic, pass the ponytail through the opening, then gently tighten the result for a clean twisted effect.
The technique takes only a few extra seconds but creates more structure than a standard ponytail. Keep the twist loose enough to show its shape without pulling the roots tightly. This style works especially well for straight and lightly wavy hair when you want a neat look that still has movement.
Conclusion
Looking polished does not require a complicated routine or a drawer full of styling products. These simple hairstyles give you practical ways to create neat, attractive looks in just a few minutes, whether you are heading to work, meeting friends, or simply refreshing your everyday appearance. I’ve noticed that having a few reliable styles ready makes rushed mornings much easier. Save this article to Pinterest so you can return to your favorite ideas whenever you need quick inspiration. Try one style this week, experiment with another next time, and share this guide with someone who loves easy, polished hair ideas.