21 Dutch Braid Styles That Bring a Fresh, Unique Look
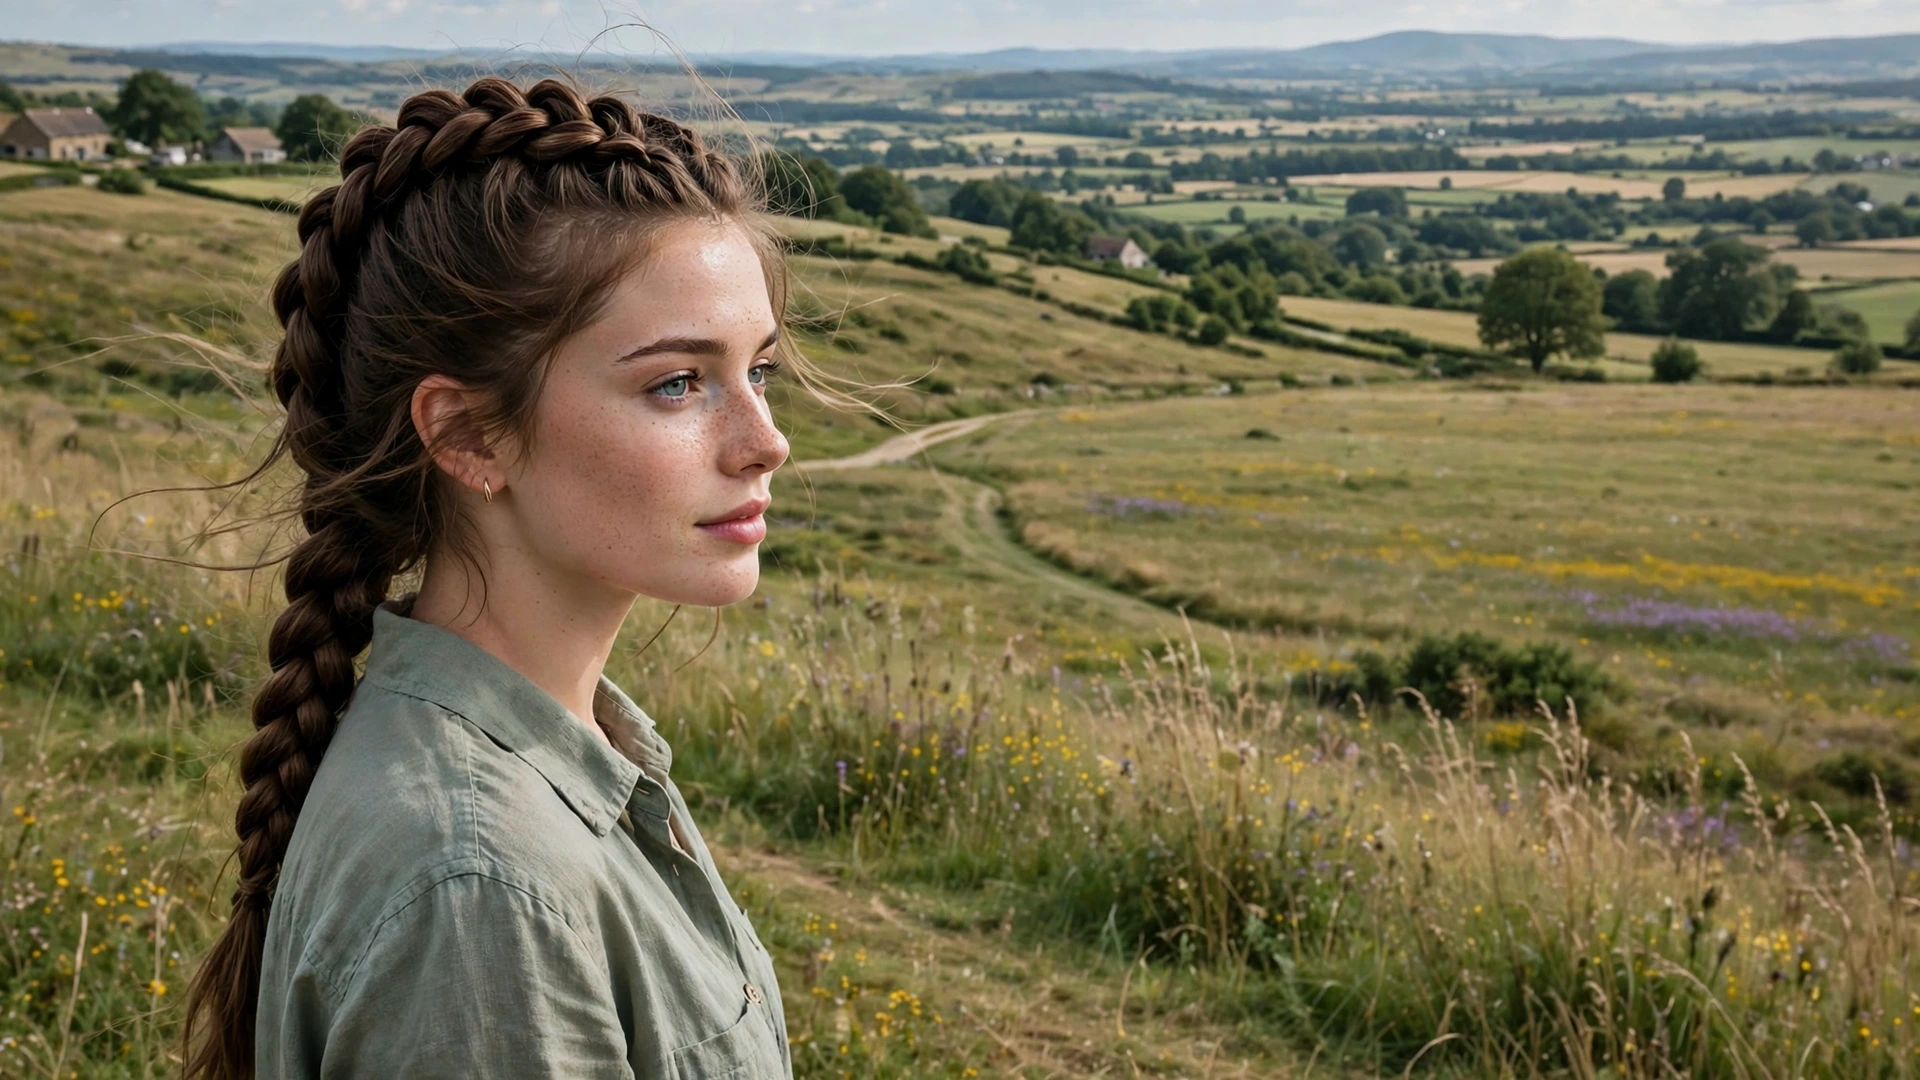
A Dutch braid is the bold sister of the French braid: instead of sinking into the hair, the plait sits raised on top, chunky and proud, so every woven section shows. It is the braid that makes people ask who did your hair, and this dutch braid is easier to learn than it looks.
The secret of a good dutch braid is crossing the sections underneath instead of over the top, then pancaking the edges for fullness. Healthy hair braids cleaner, with less frizz and more shine, and the hair care tips from WebMD are worth a read. Here are 21 fresh styles.
Looking for more inspiration? Explore our guides to hairstyles for women, browse these chic hairstyles, or find fresh haircut ideas for your next salon visit.
Classic Dutch Braid
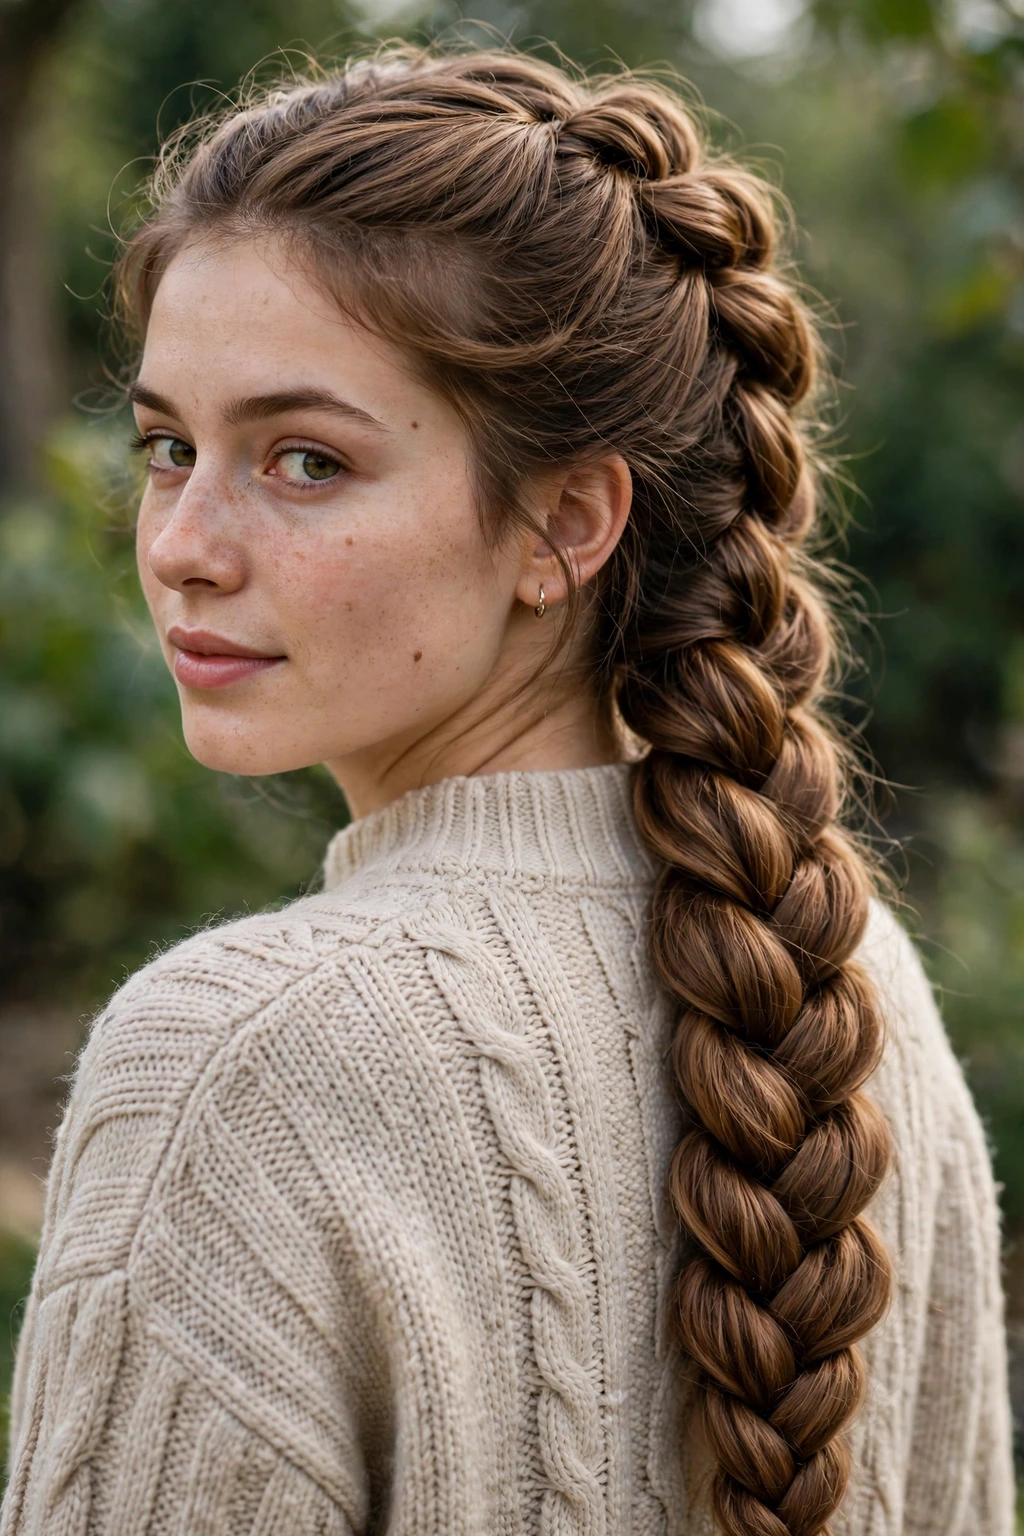
The classic Dutch braid starts at the crown with three sections, crossing each side section underneath the middle while you add hair with every pass, so the plait builds on top of the head like a raised rope. It is bold, neat and structured, the foundation style every other Dutch look in this guide begins with.
Keep the tension firm and even, and sit the braid high so the raised shape shows clearly. When you reach the nape, finish with a normal three strand plait, then gently pull each edge outward to pancake the braid wider and fuller within seconds.
Double Dutch Braids
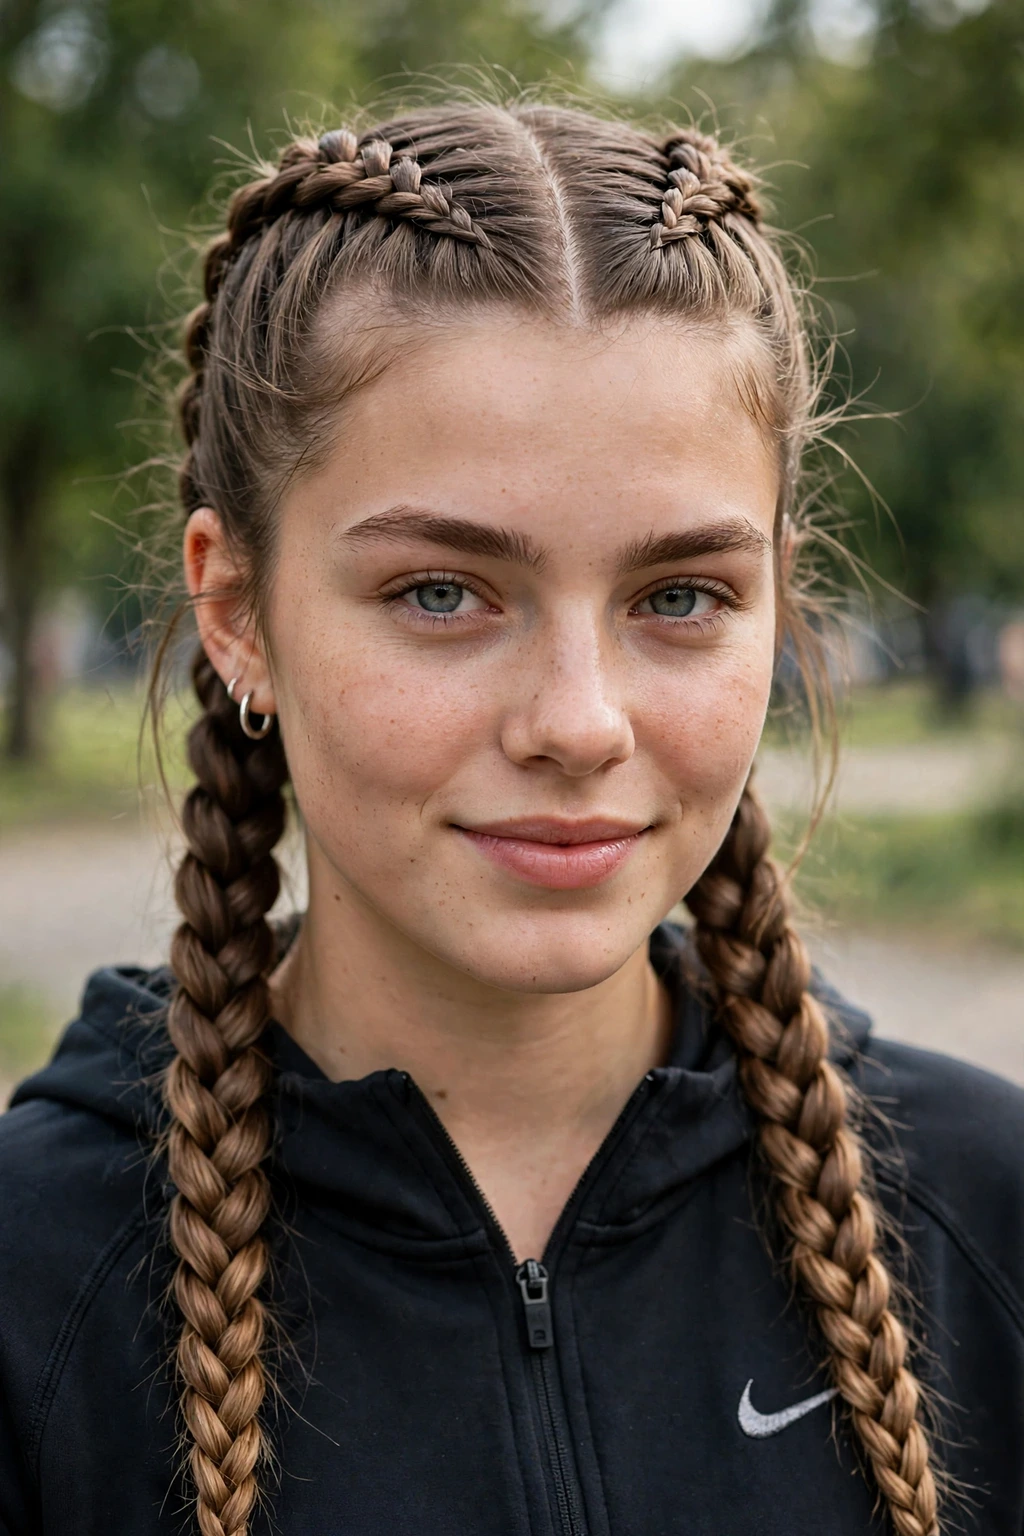
- Part the hair straight down the middle
- Braid each side in turn
- Keep both braids even
- Finish with small clear elastics
Double Dutch braids are the sporty classic: two raised plaits, one on each side of a clean center part. They hold for days, suit the gym as well as festivals, and frame the face with truly perfect symmetry on every single wearer, young or old.
Dutch Braid Ponytail
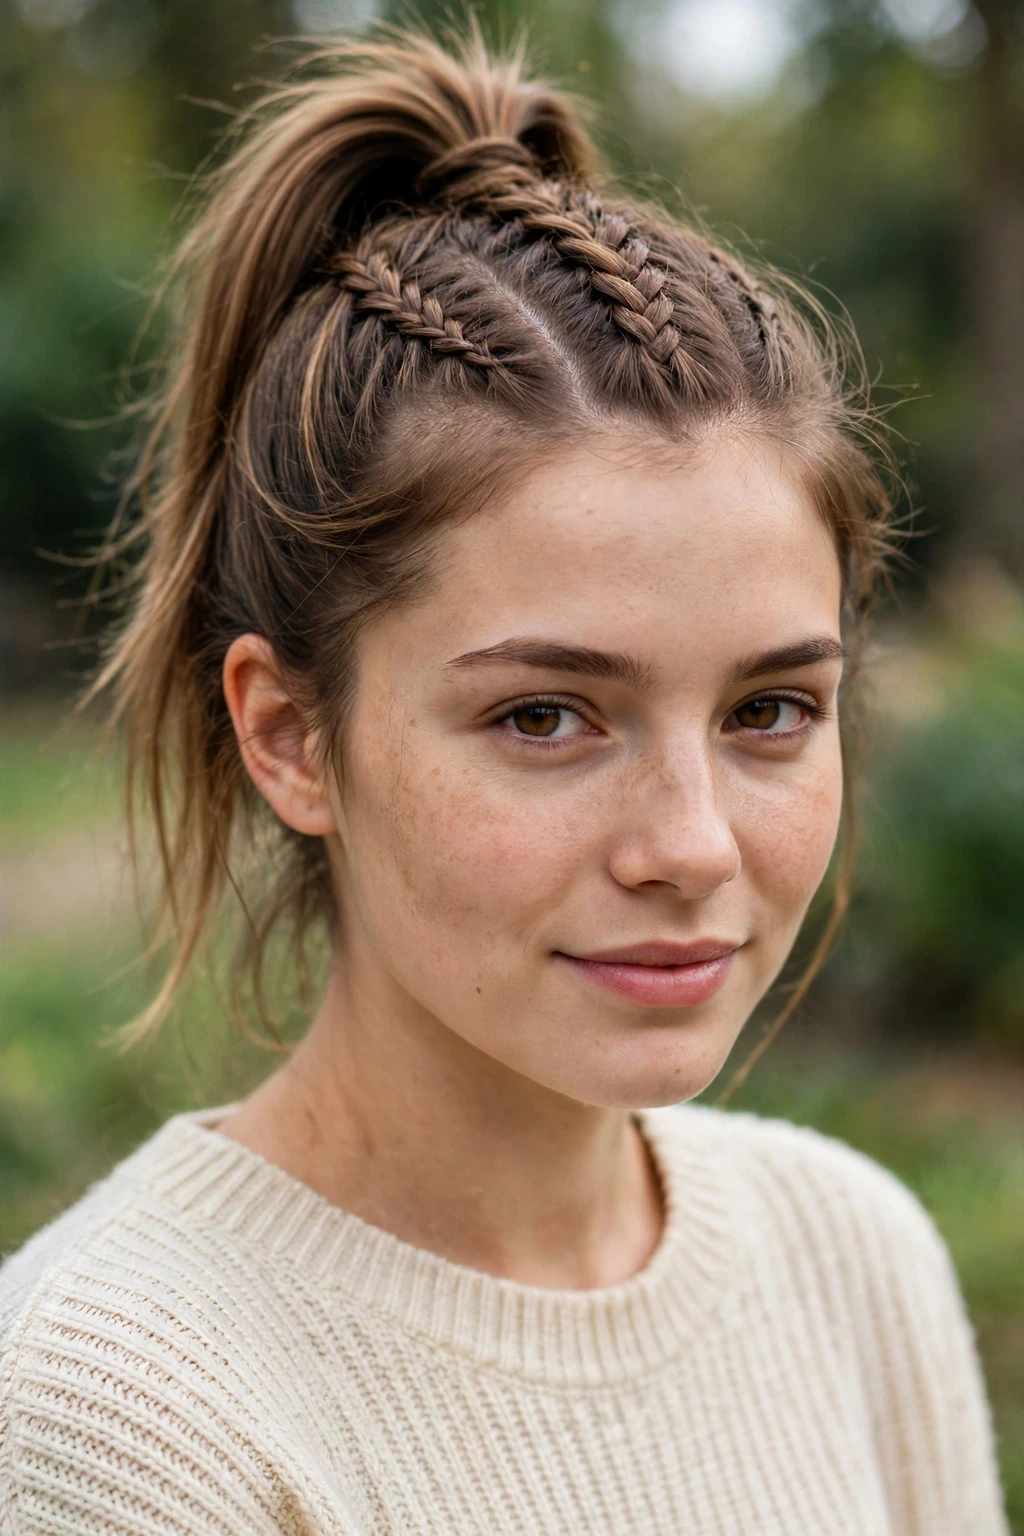
Quick Tip:
Braid only to the crown, then gather everything into the ponytail. The raised braid on top and the swing below give you two styles in one.
A Dutch braid ponytail weaves the top of the head in a bold raised plait, then lets the rest swing free in a high or low pony. It is polished, practical and pretty for work or workouts.
Dutch Braid Bun
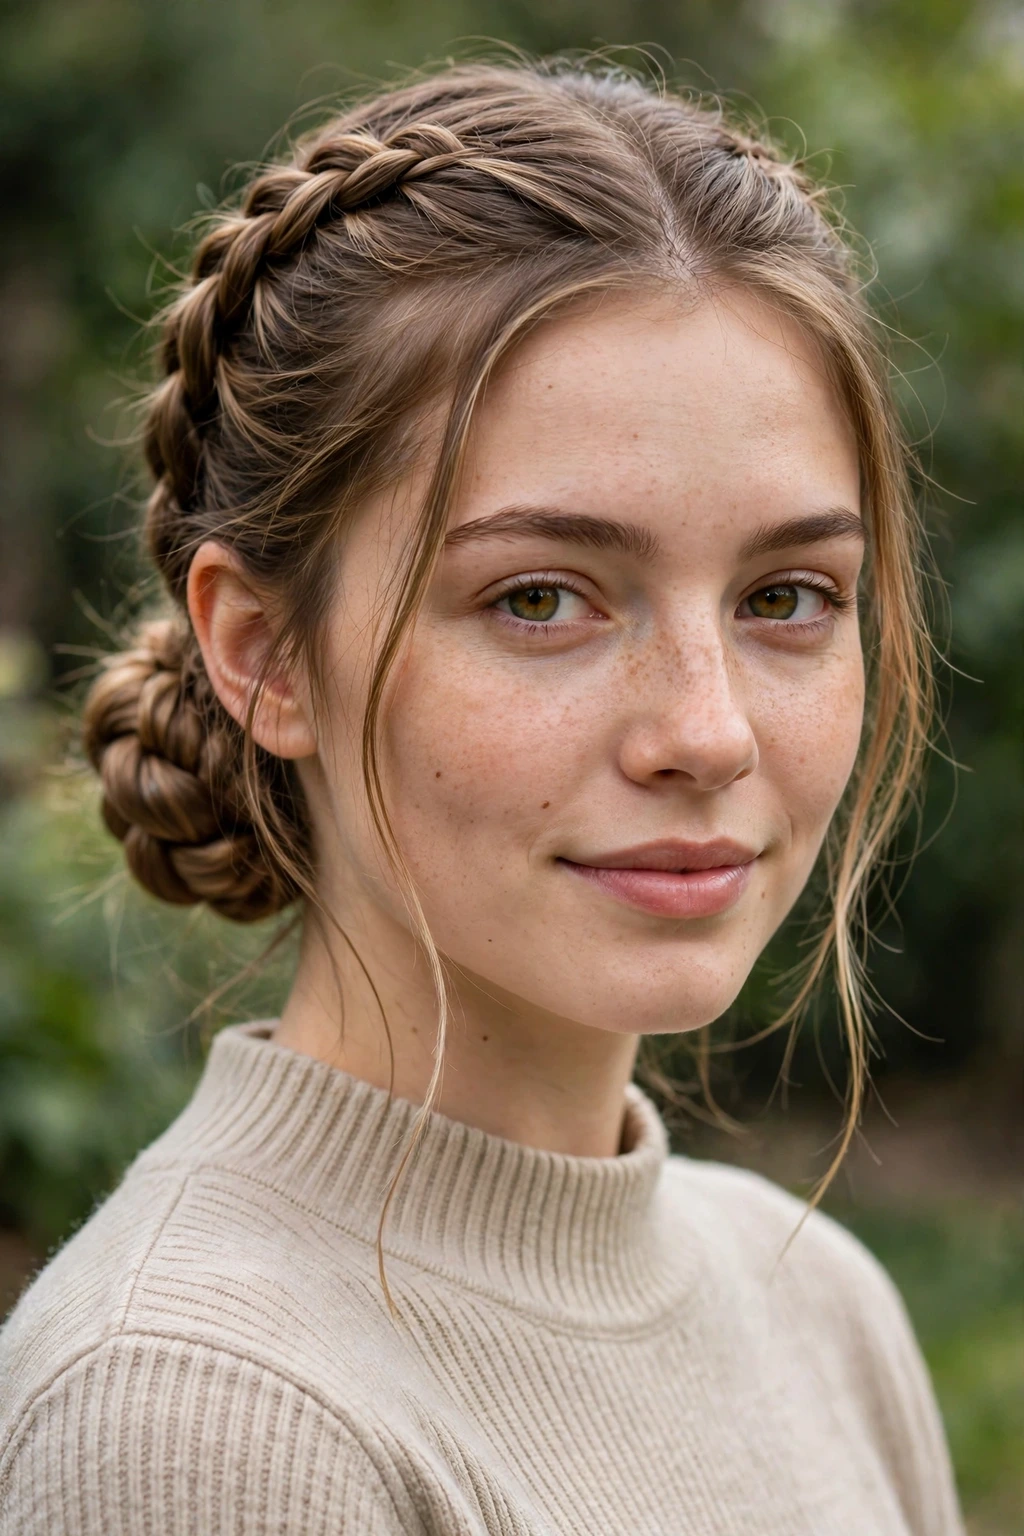
BEFORE: A Dutch braid hanging down the back.
AFTER: The end coiled and pinned into a bun.
A Dutch braid bun takes the raised plait and coils the end into a neat bun at the nape or crown. The woven texture wraps around the bun, making a simple updo look detailed and deliberate.
Dutch Braid Crown
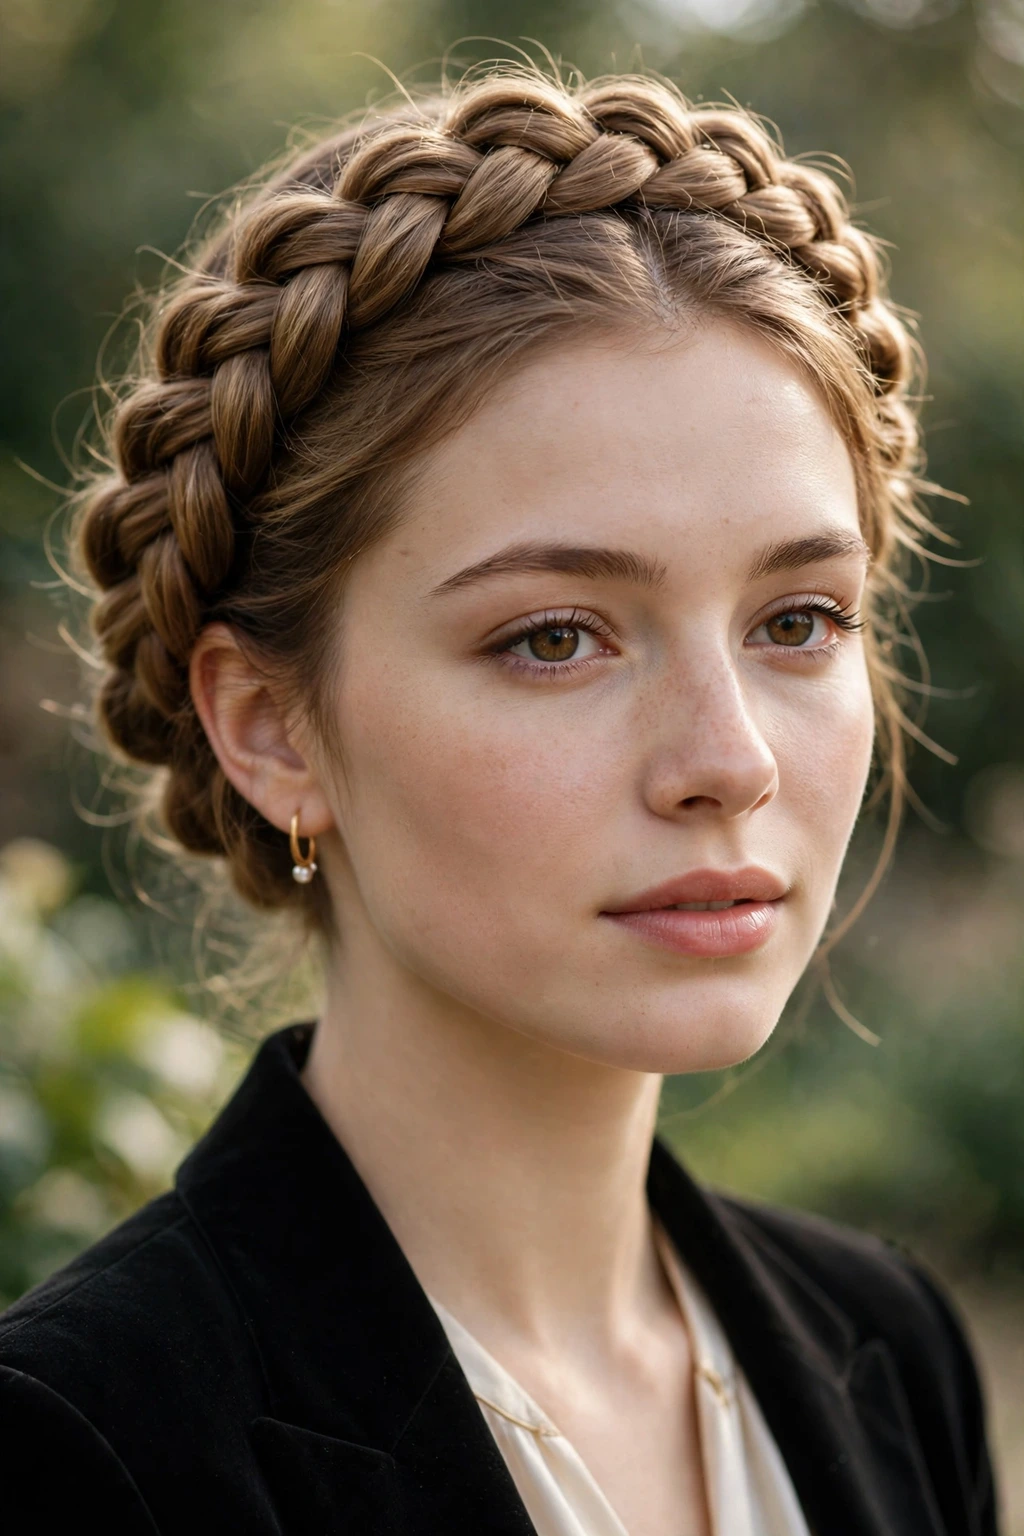
- Start behind one ear
- Braid around the hairline upward
- Cross sections under as you go
- Tuck and pin the end out of sight
A Dutch braid crown circles the head with a raised plait that looks like a woven coronet from every angle. Because the braid sits on top, the crown reads clearly in photos, perfect for weddings.
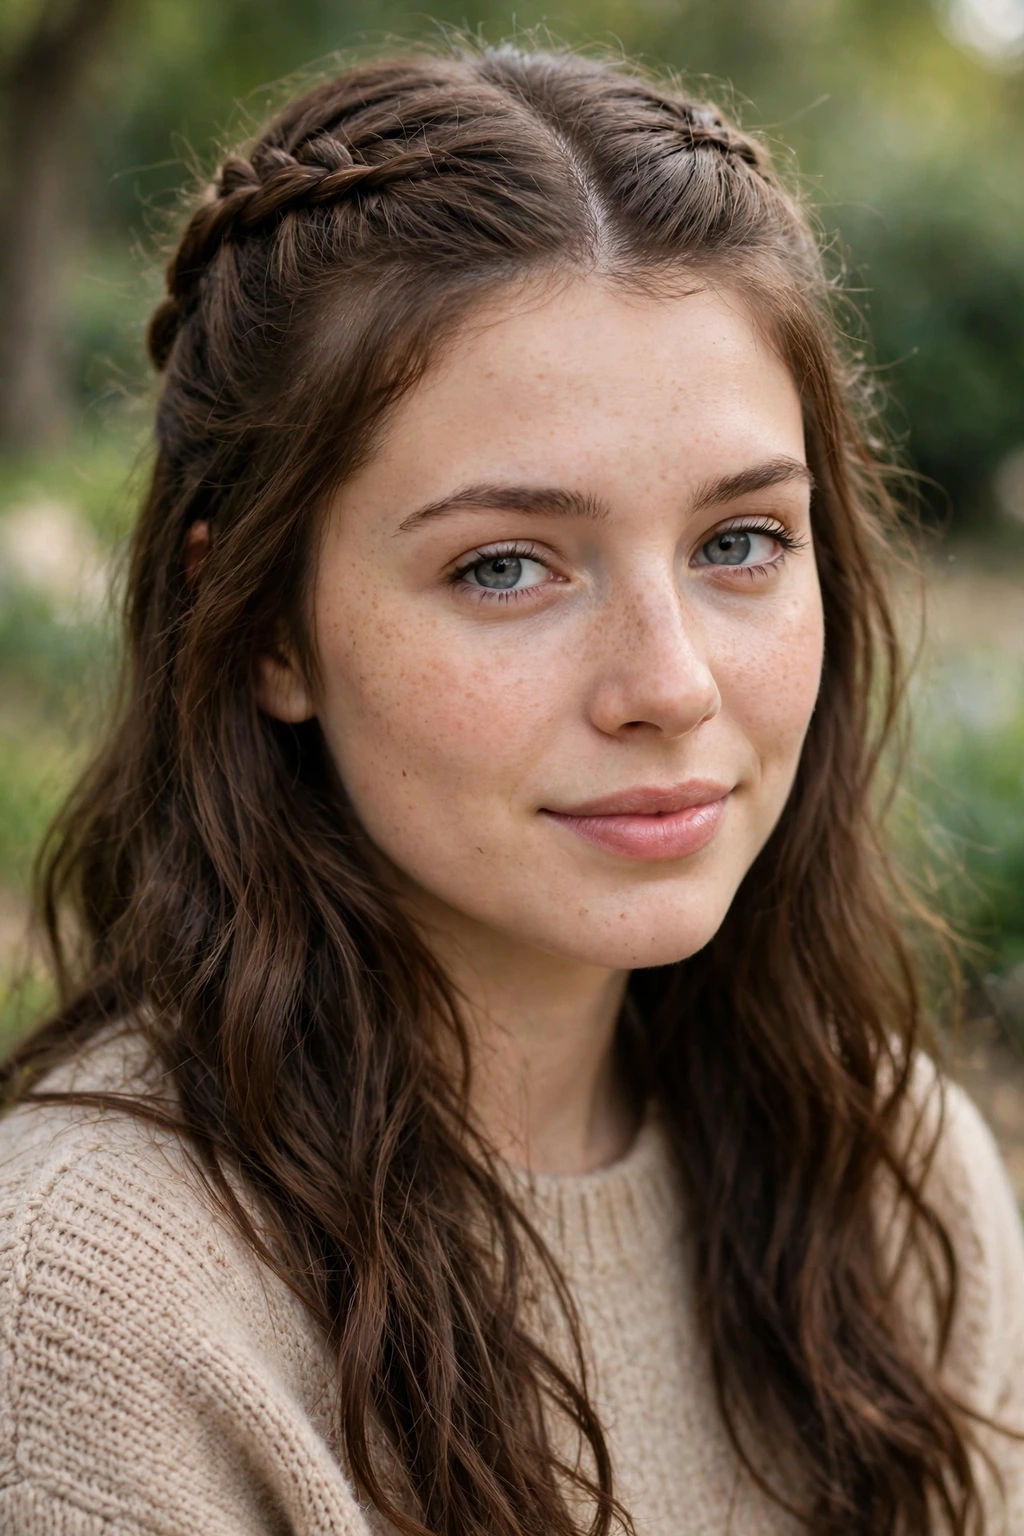
Dutch Braid Half Up
| Feature | Half Up Dutch | Full Dutch |
|---|---|---|
| Hair used | Top section only | All the hair |
| Look | Soft with detail | Bold and structured |
| Best for | Everyday pretty | Sport and events |
The half up Dutch braid gives you the raised woven detail on top while the rest of your hair falls loose and soft below. It is the easiest way to wear the Dutch look on a normal day.
Side Dutch Braid
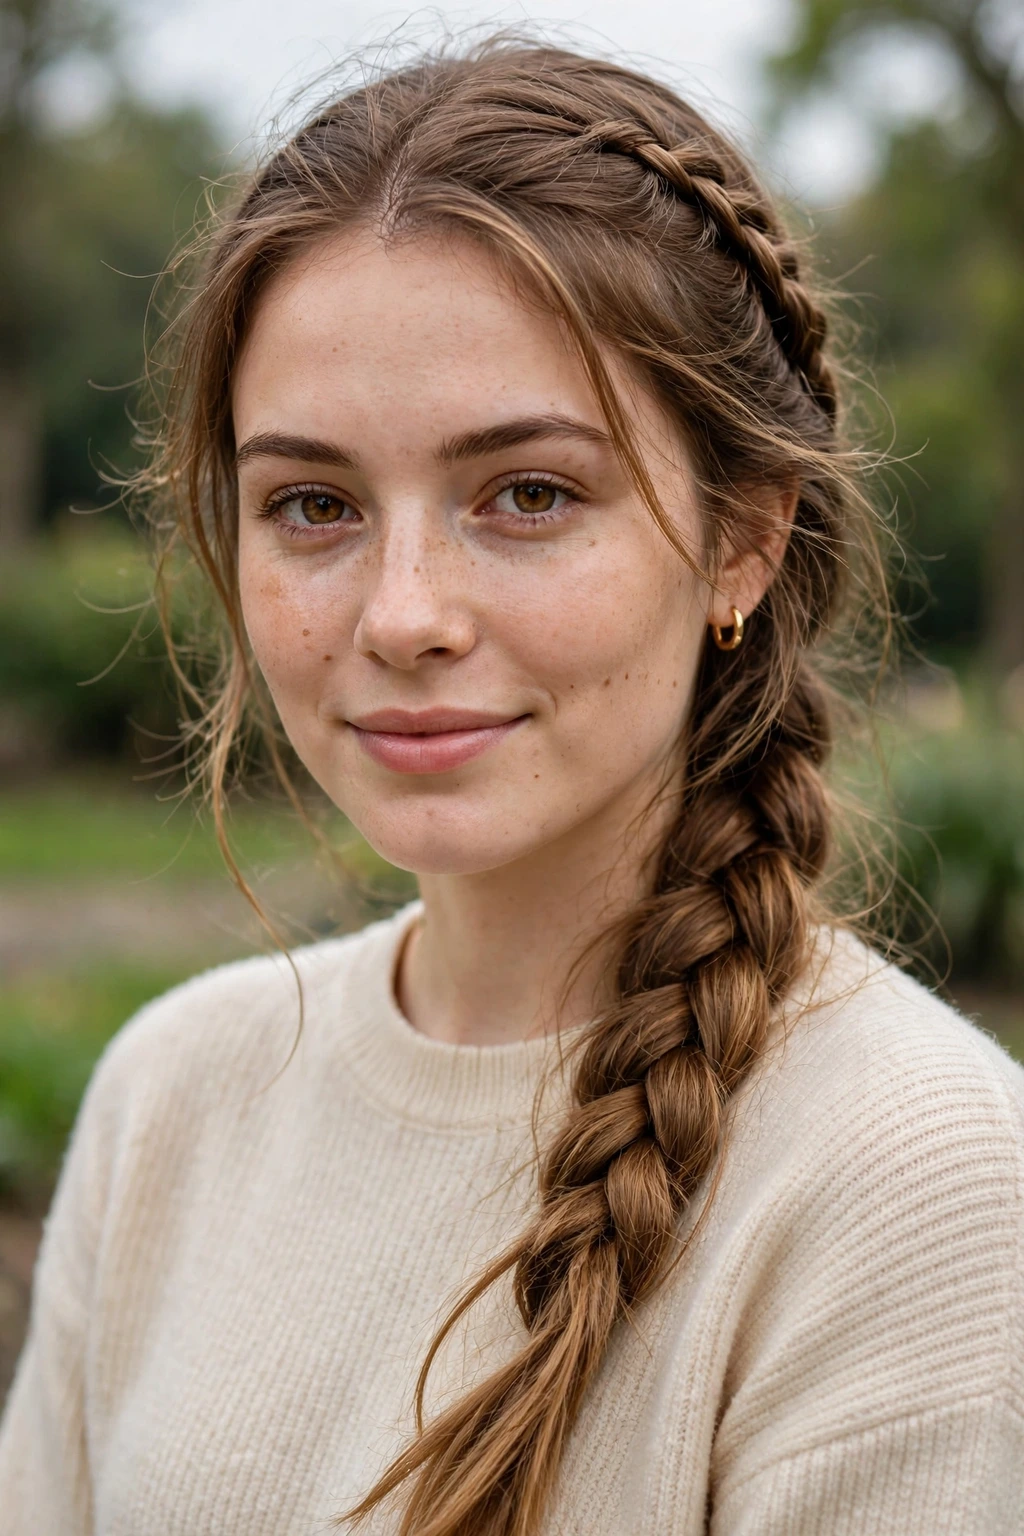
DO:
- Start above one ear
- Braid diagonally toward one shoulder
- Pancake the outside edge
DON’T:
- Pull the far side tight
- Forget to secure the end well
- Skip texture spray on fine hair
A side Dutch braid sweeps one bold plait diagonally across the head and down over one shoulder. The single raised braid against loose hair on the other side creates a striking, modern contrast.
Dutch Braid Updo
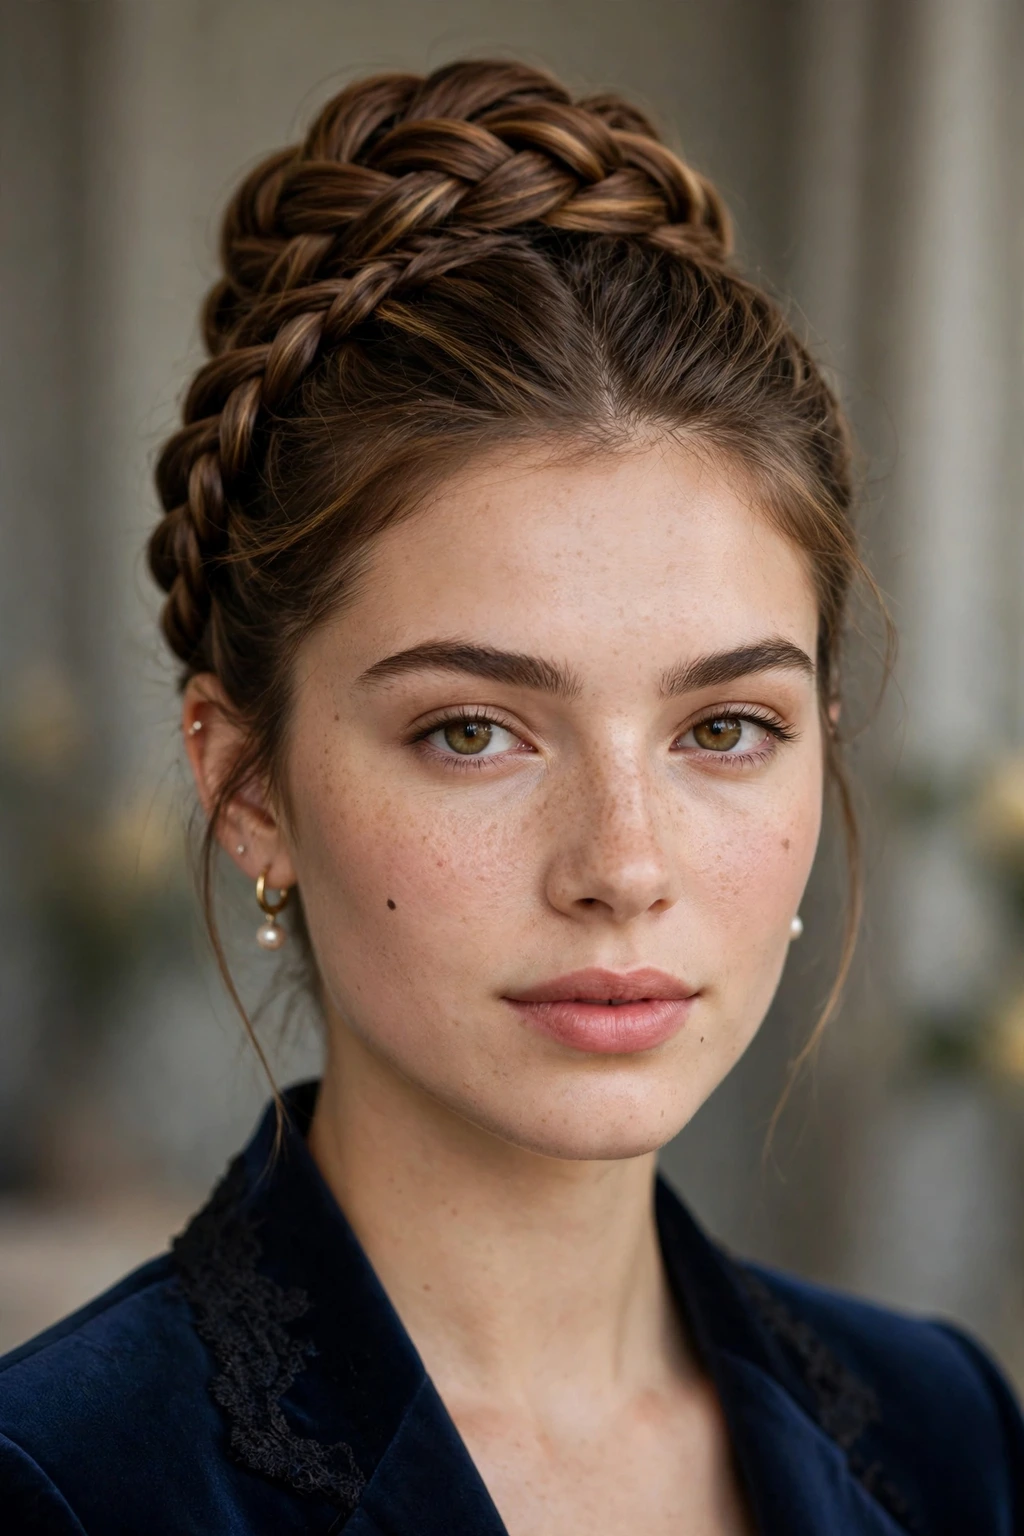
Best For: Weddings and formal events | Time: 25 minutes | Skill Level: Medium to high | Holds: All day
A Dutch braid updo pins one or two raised braids into an elegant arrangement at the back or crown. The chunky woven texture makes the updo look intricate even when the pinning itself is simple.
Dutch Braid With Curls
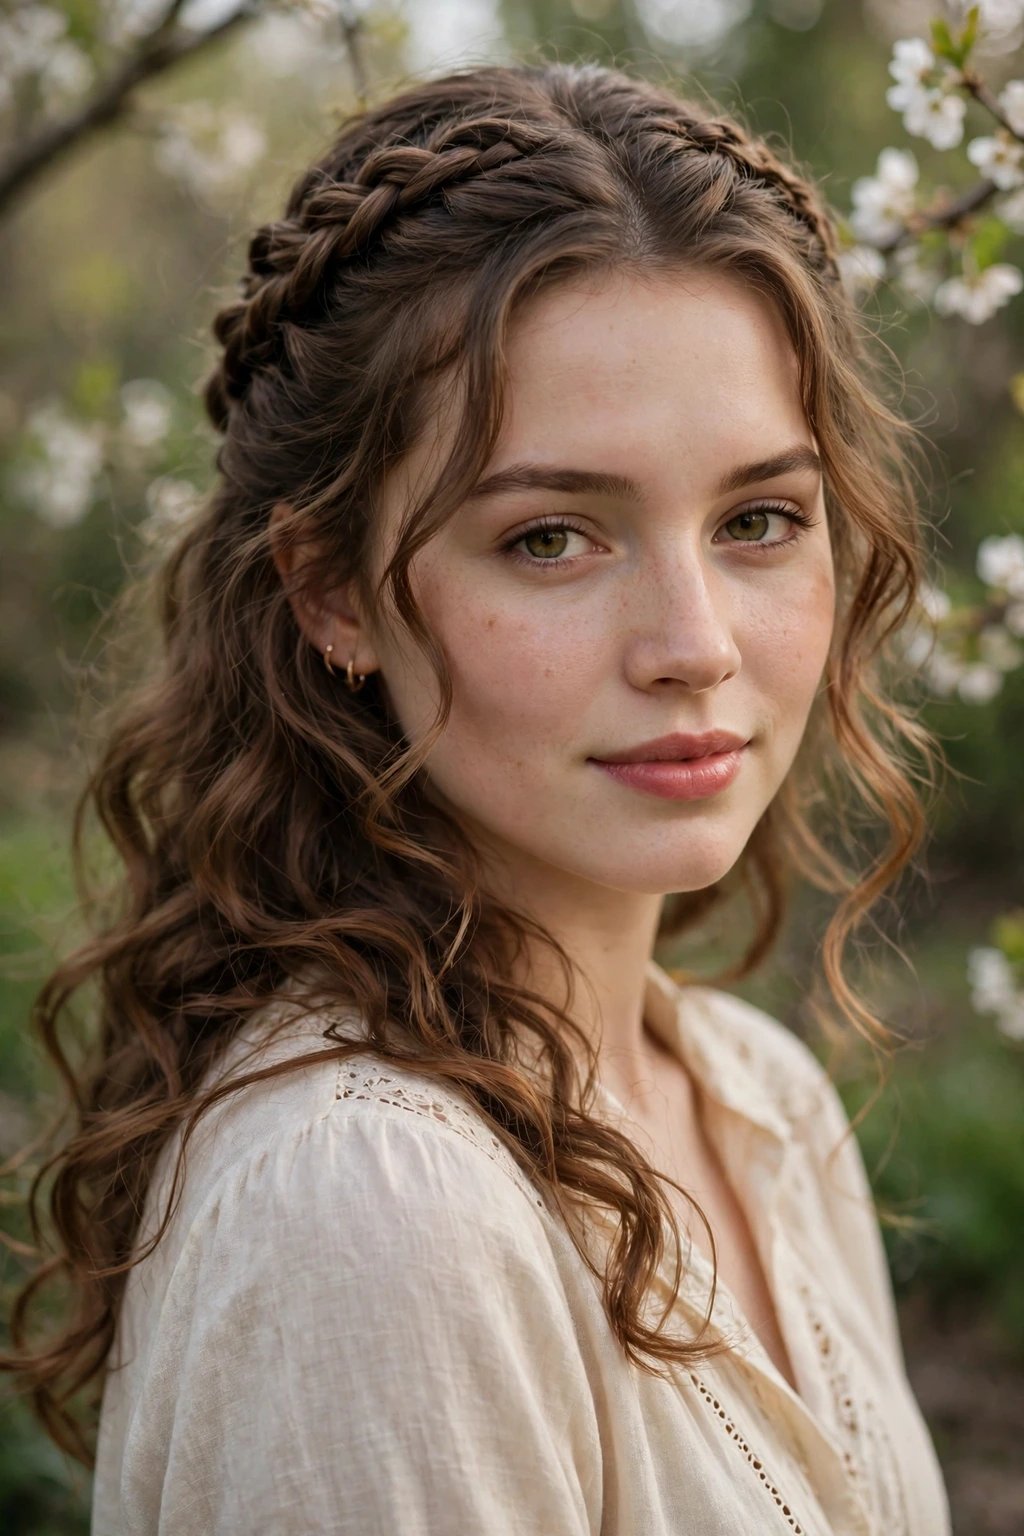
A Dutch braid with curls pairs structure with softness: the top or side of the head is woven in a bold raised plait while the remaining lengths fall in loose, bouncy curls. The contrast between the neat braid and the free curls is what makes this style look so rich and romantic at parties.
Curl the loose hair before you braid, and weave gently so the curls keep their shape. This is a lovely choice for weddings, date nights and photos, because the braid keeps the front tidy while the curls bring all the movement and softness around your shoulders.
Dutch Braid For Short Hair
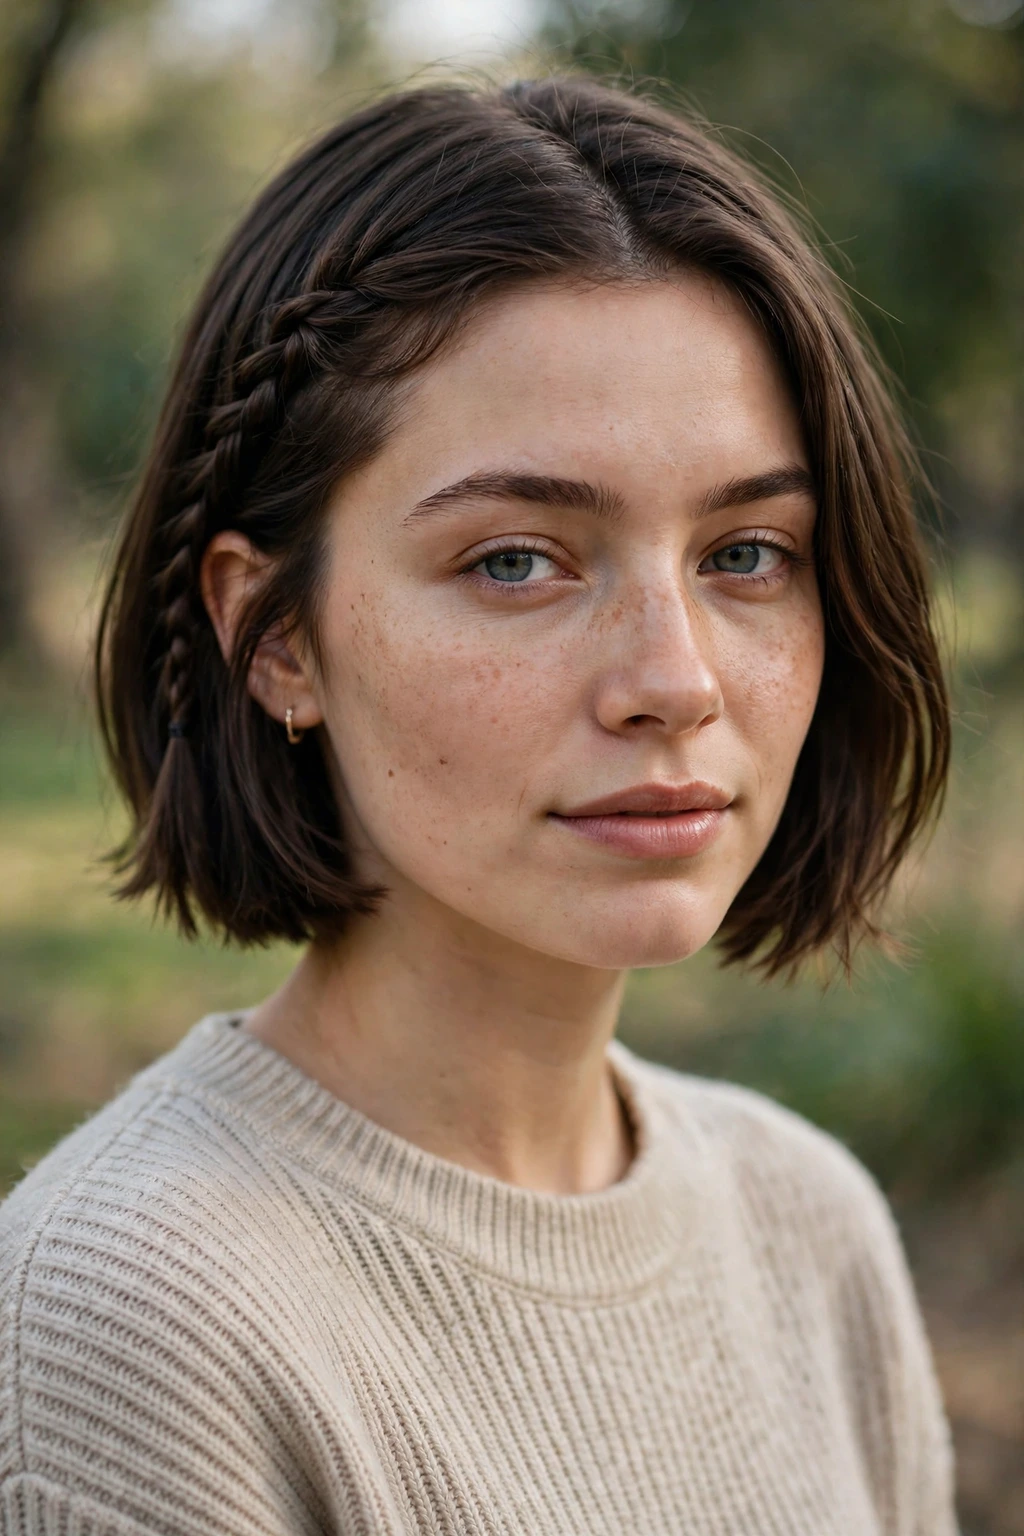
- Braid the top or one side only
- Use small sections, firm tension
- Grip spray helps short strands
- Pin the end and hide it
Short hair wears a Dutch braid beautifully along the top or side of a bob or lob, adding bold, pretty detail without needing extra length. Small sections and a little grip spray keep shorter strands in the plait all day without escaping at the sides.
Dutch Braid For Long Hair
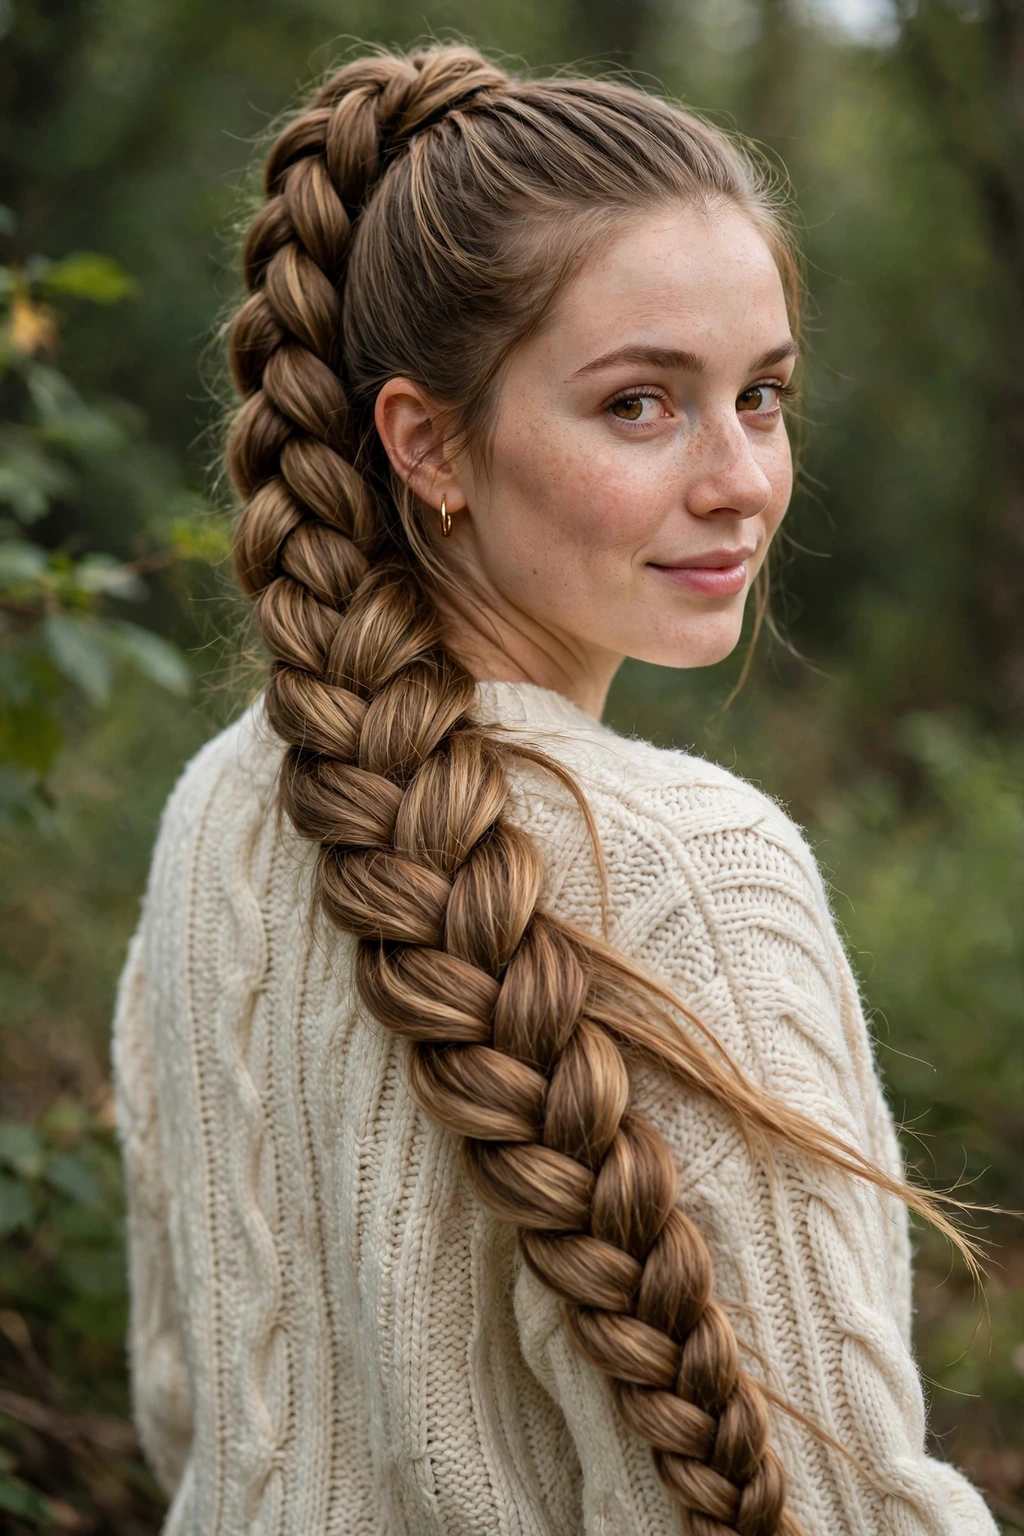
Quick Tip:
For very long hair, braid in front of a mirror and bring the plait over one shoulder halfway down. It keeps the tension even to the very ends.
Long hair makes the boldest Dutch braid of all: a thick, raised plait running the full length of your back. Pancake each section as you finish for a wide, dramatic finish.
Dutch Braid Pigtails
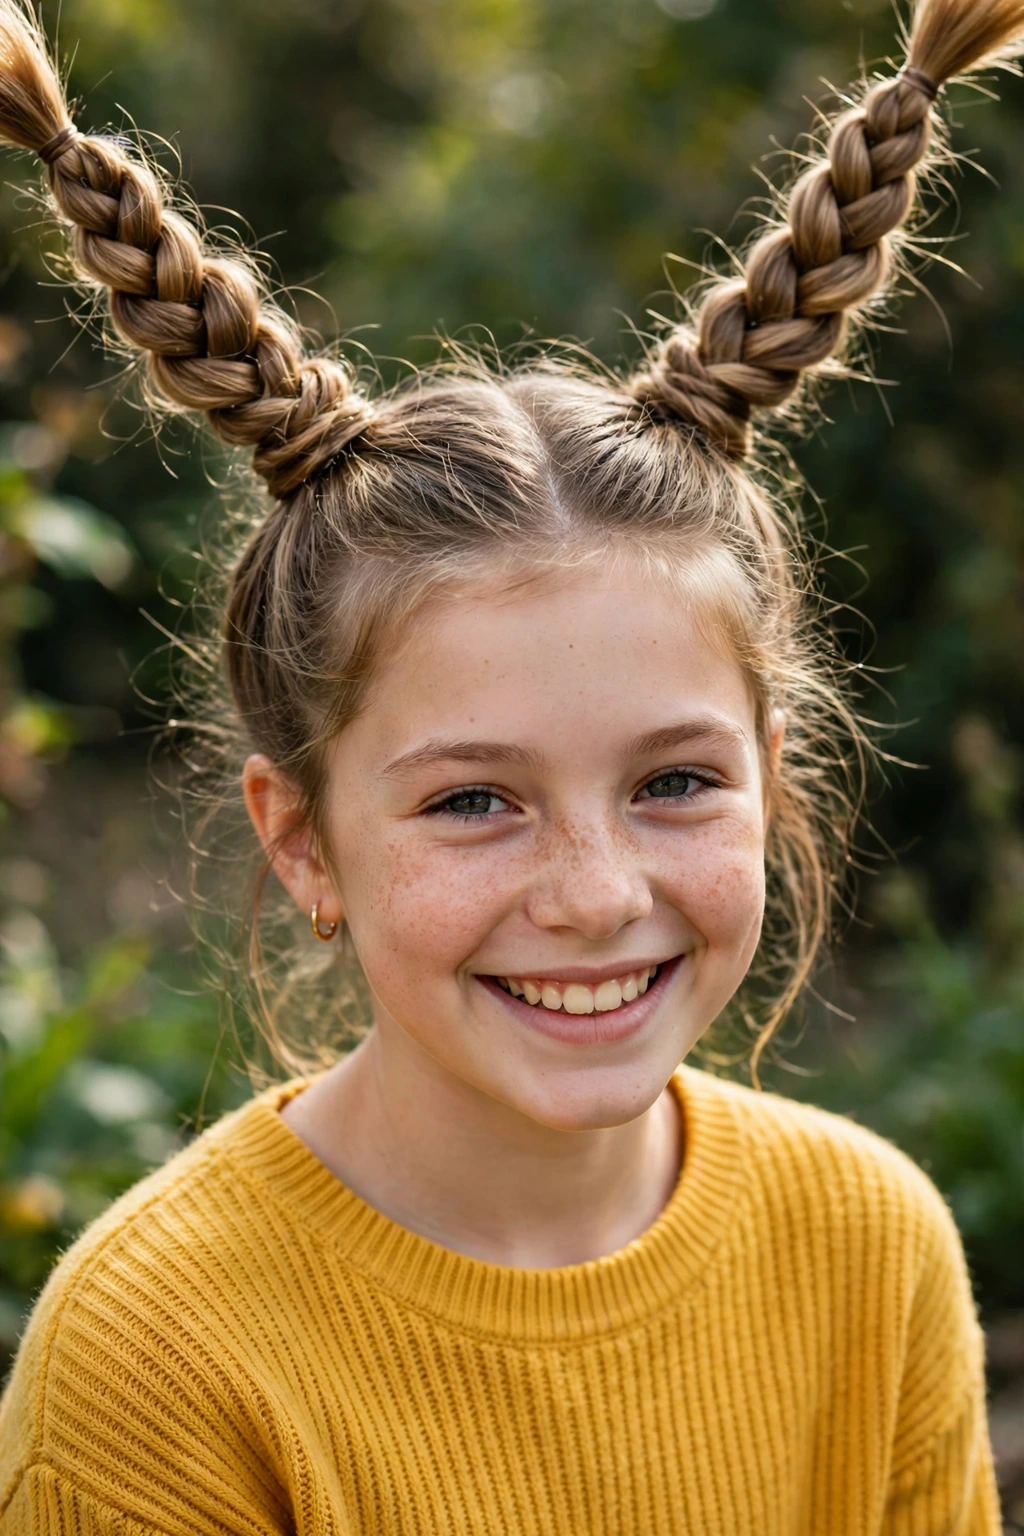
BEFORE: Two plain low pigtails.
AFTER: Raised Dutch braids flowing into the pigtails.
Dutch braid pigtails start with two raised braids at the front that flow into loose pigtails at the nape, or braid all the way down. Playful, youthful and great for festivals and summer days.
Dutch Braid With Ribbon
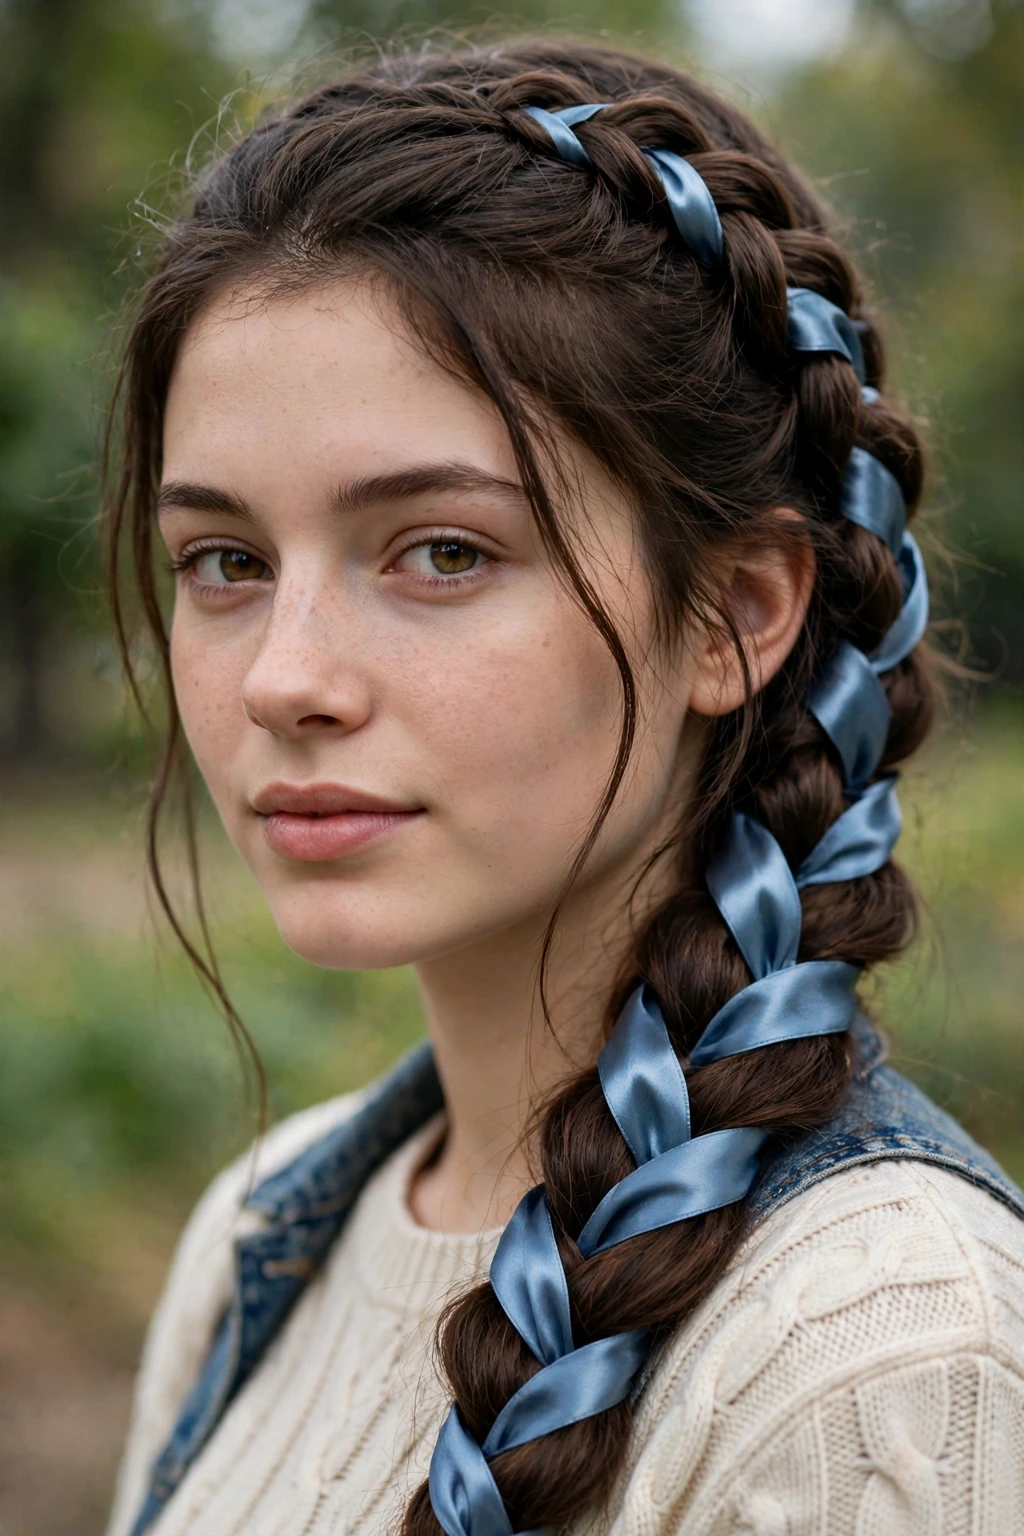
- Tie the ribbon at the crown
- Let it travel with one section
- Cross under as usual
- Finish with a bow at the end
A ribbon woven through a Dutch braid shows beautifully because the plait sits on top: the color threads along the raised braid like a stripe. Velvet, satin and patterned ribbons all work well.
Dutch Braid Headband
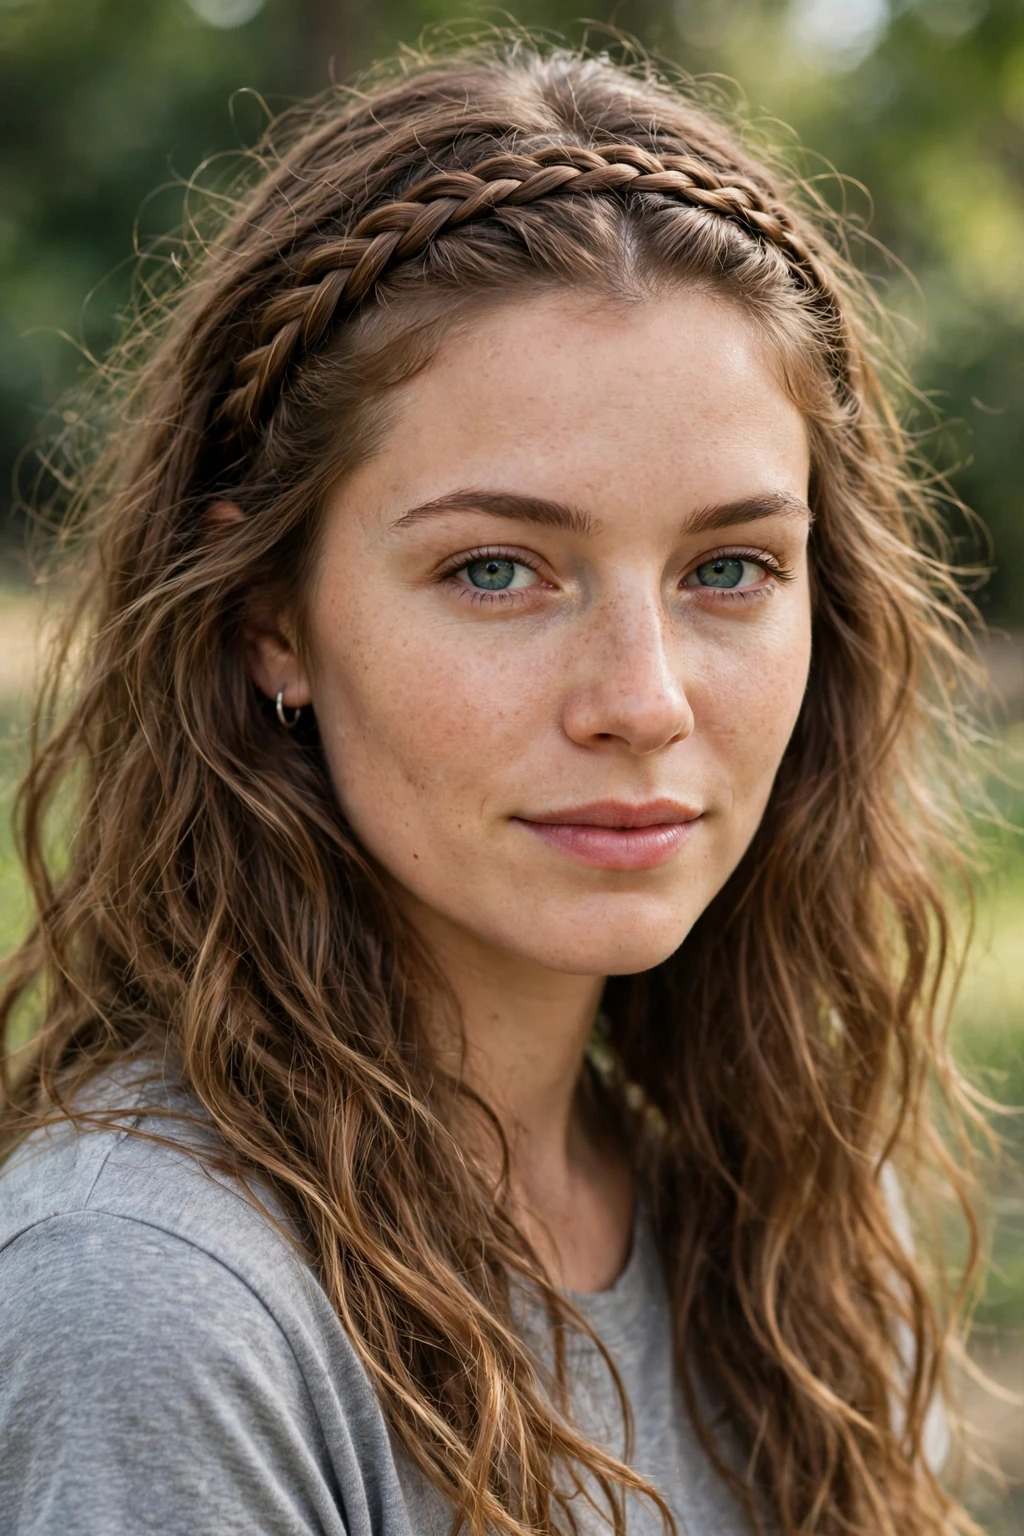
| Feature | Dutch Headband | French Headband |
|---|---|---|
| Plait position | Raised on top | Sunk into hair |
| Visibility | Bold and clear | Soft and subtle |
| Best for | Statement detail | Gentle detail |
A Dutch braid headband weaves one raised plait across the front hairline, bold and clear like a woven band, while the rest of the hair stays loose. It keeps fringes and front layers tidy sweetly.
Dutch Braid Low Bun
DO:
- Braid to the nape first
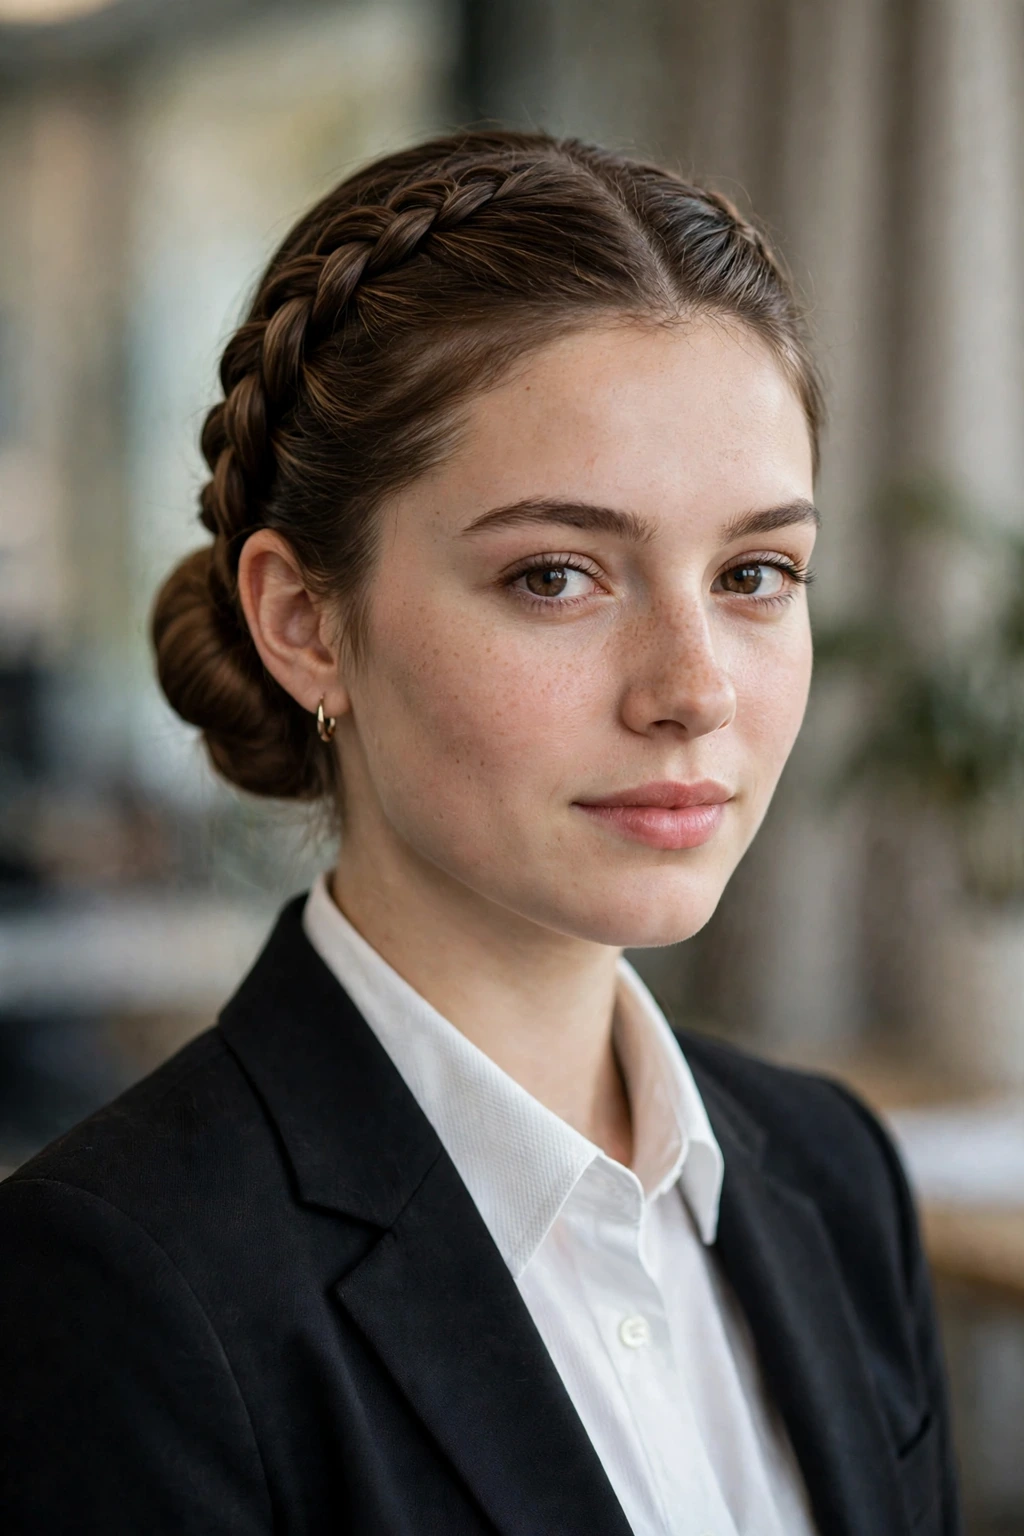
- Coil the end into a low bun
- Pin in a circle for strength
DON’T:
- Leave the braid loose at the back
- Skip the nape elastic
- Pull the front sections tight
A Dutch braid low bun finishes the raised plait with a smooth coil at the nape: the bold braid on top, the neat bun below. It is formal, glossy and secure for long events.
Dutch Braid For Kids
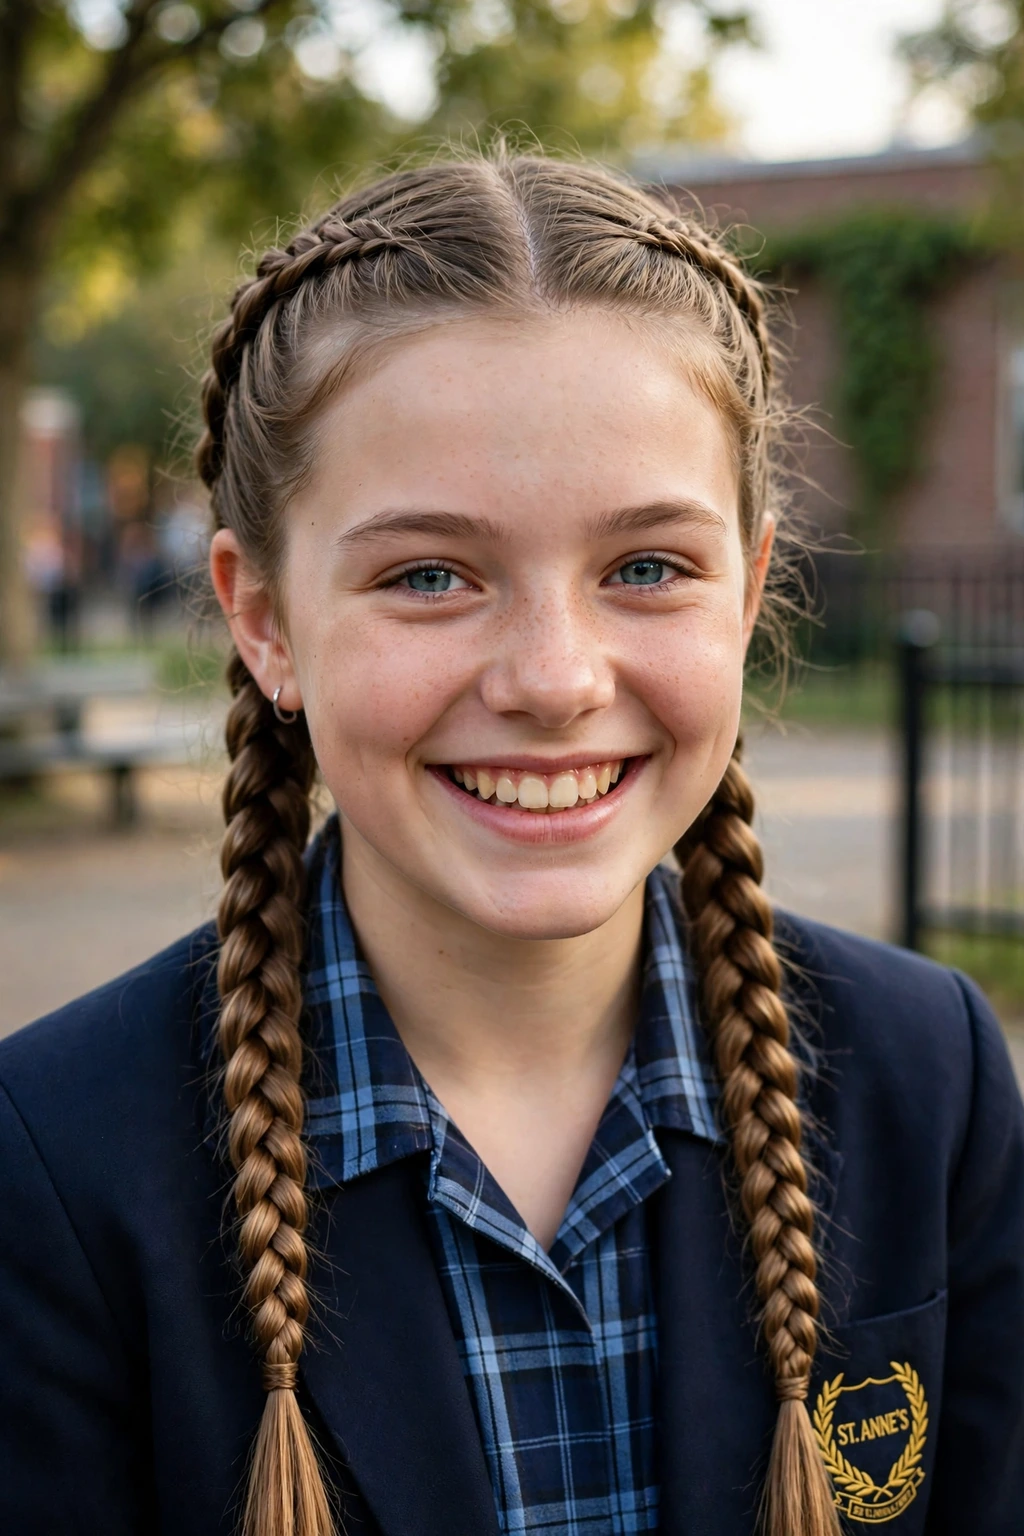
Best For: School, sport and parties | Time: 10 to 15 minutes | Skill Level: Medium | Holds: One to three days
Dutch braids are a parent favorite for kids: one or two raised braids keep hair tidy, off the face and tangle free through school and play. They can even sleep in them and wake up styled.
Dutch Braid With Bangs
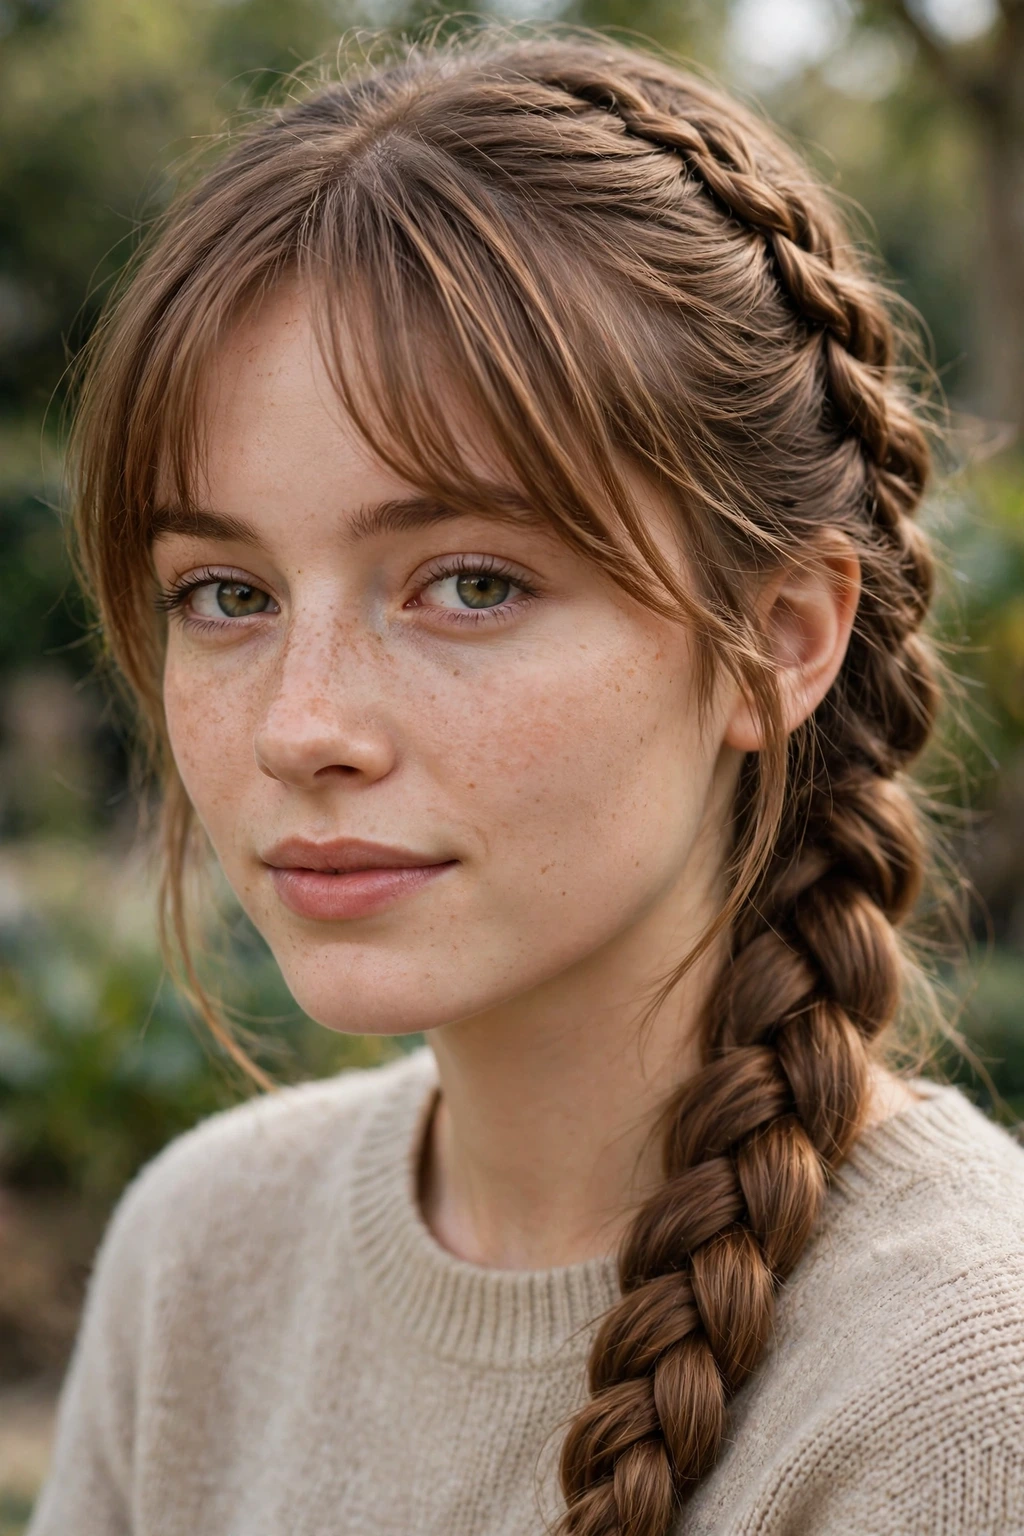
A Dutch braid with bangs keeps your fringe styled at the front while the bold raised plait takes care of everything behind it. Start the braid just behind the fringe line so the bangs fall naturally, and let the contrast between the soft front and the structured braid do the styling work for you.
This pairing is especially good with curtain bangs, which blend into the braid line at the sides. It also helps while growing out a fringe: the braid controls the longer pieces while the front still looks like a finished style, not a stage in between.
Messy Dutch Braid
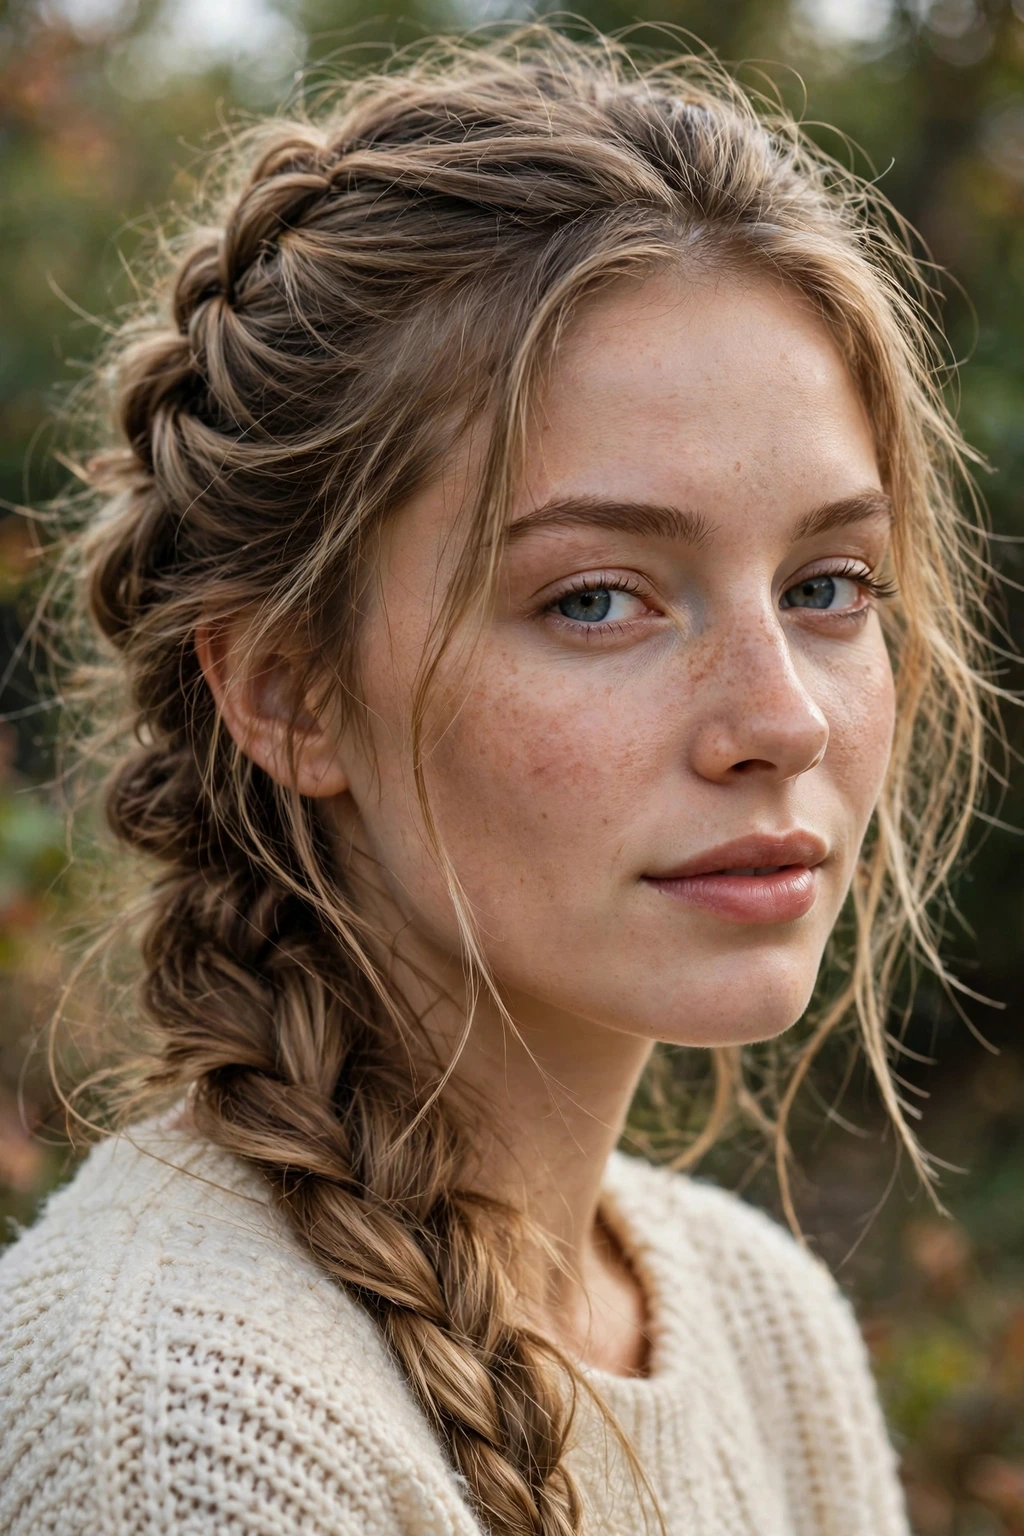
- Braid loosely from the start
- Pancake every section wide
- Pull out soft face strands
- Finish with texture spray
The messy Dutch braid takes the bold raised plait and relaxes it: loose tension, wide pancaked edges and soft strands around the face. It reads romantic and undone, perfect for weekends, festivals and any day a tight braid feels too neat for your mood today.
Dutch Braid Space Buns
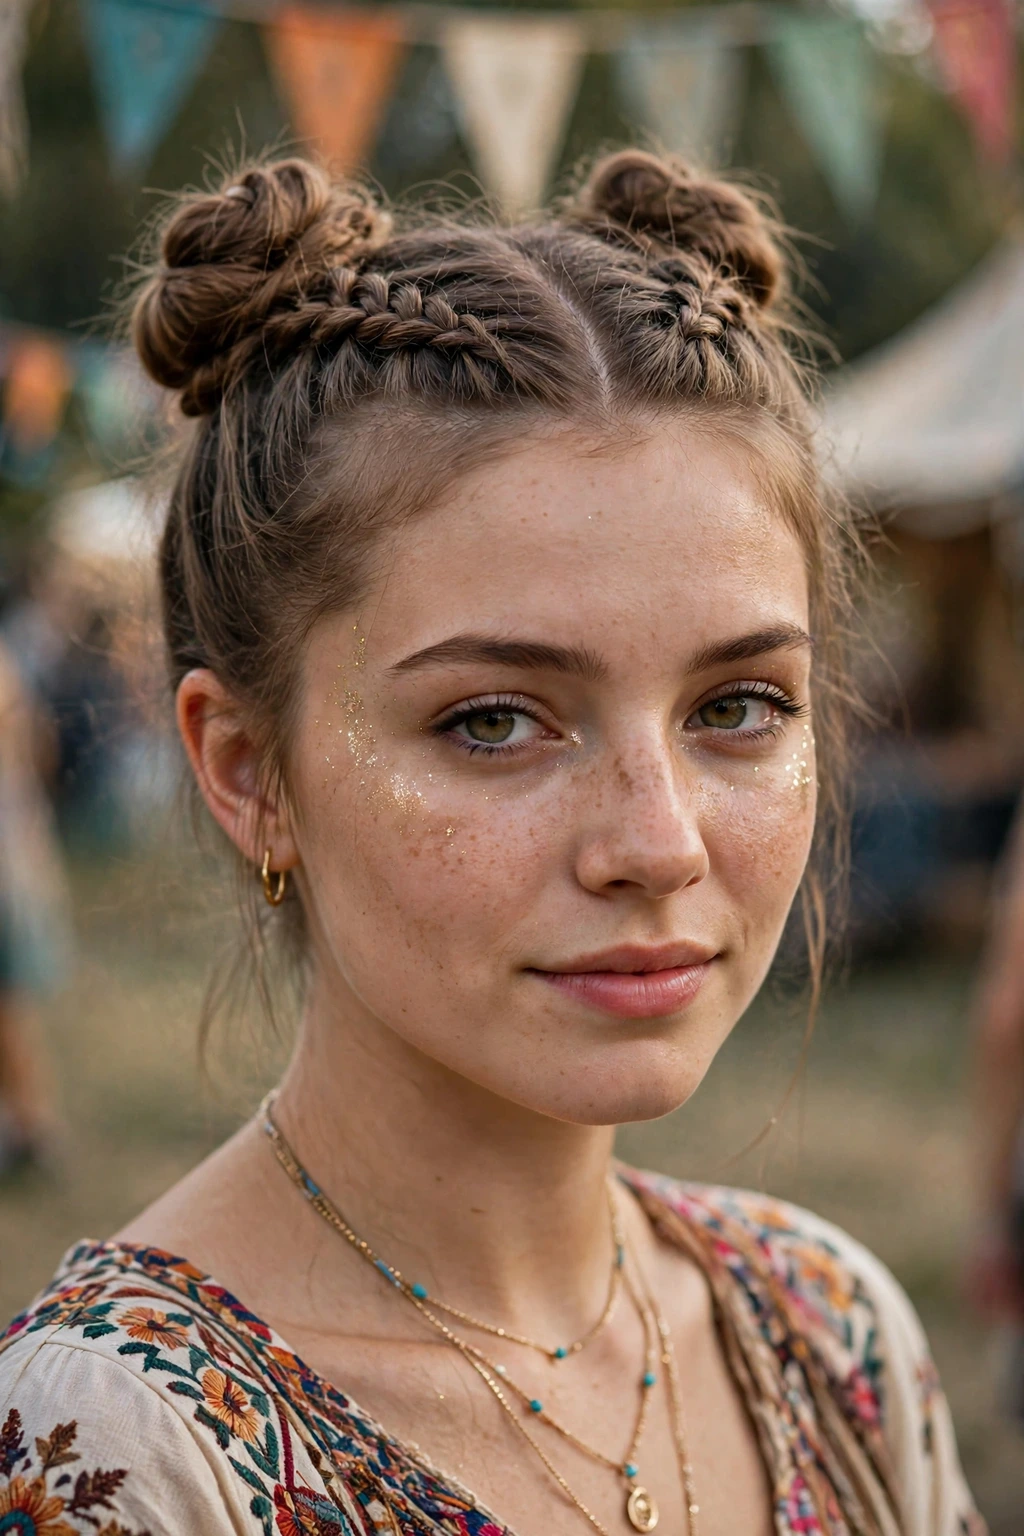
Quick Tip:
Braid each side upward toward the crown, then coil the ends into the buns. Braiding first makes the buns far more secure than twisting loose hair.
Dutch braid space buns weave two raised braids up into twin buns at the crown, a playful festival style with real structure. The braids keep the look tidy while the buns bring the fun.
Dutch Braid Top Knot
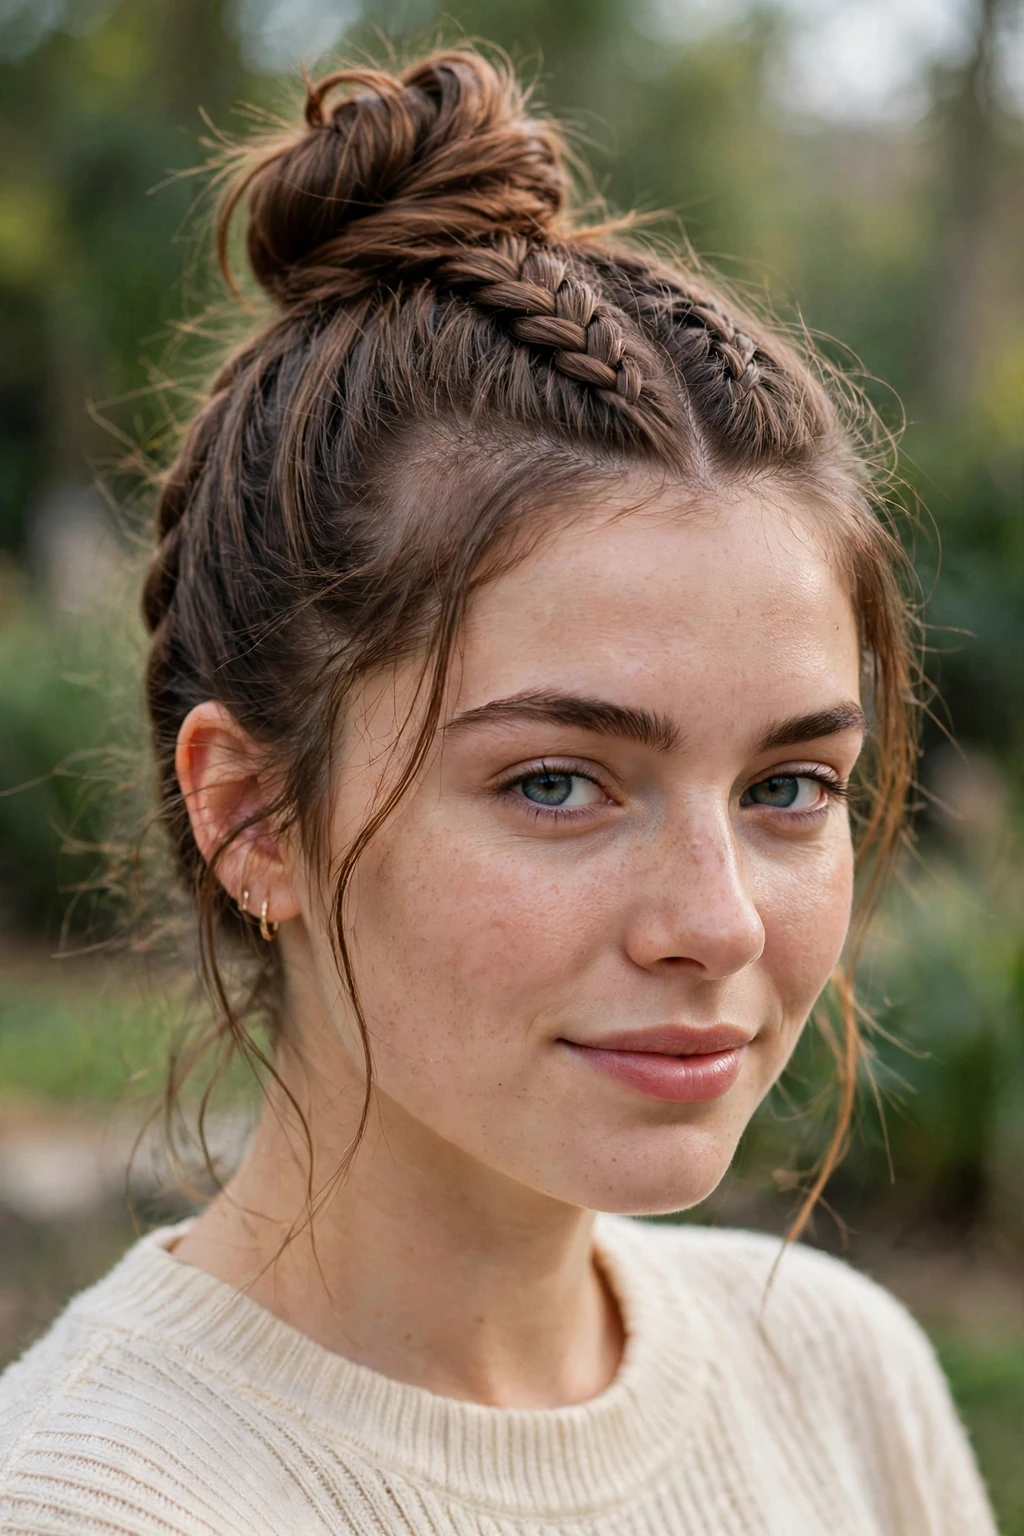
BEFORE: A plain top knot on loose hair.
AFTER: A raised braid leading up into the knot.
A Dutch braid top knot braids the back or front hair upward into a high knot at the crown. The woven path into the bun makes this simple style look planned and polished from behind.
Dutch Braid Milkmaid Style
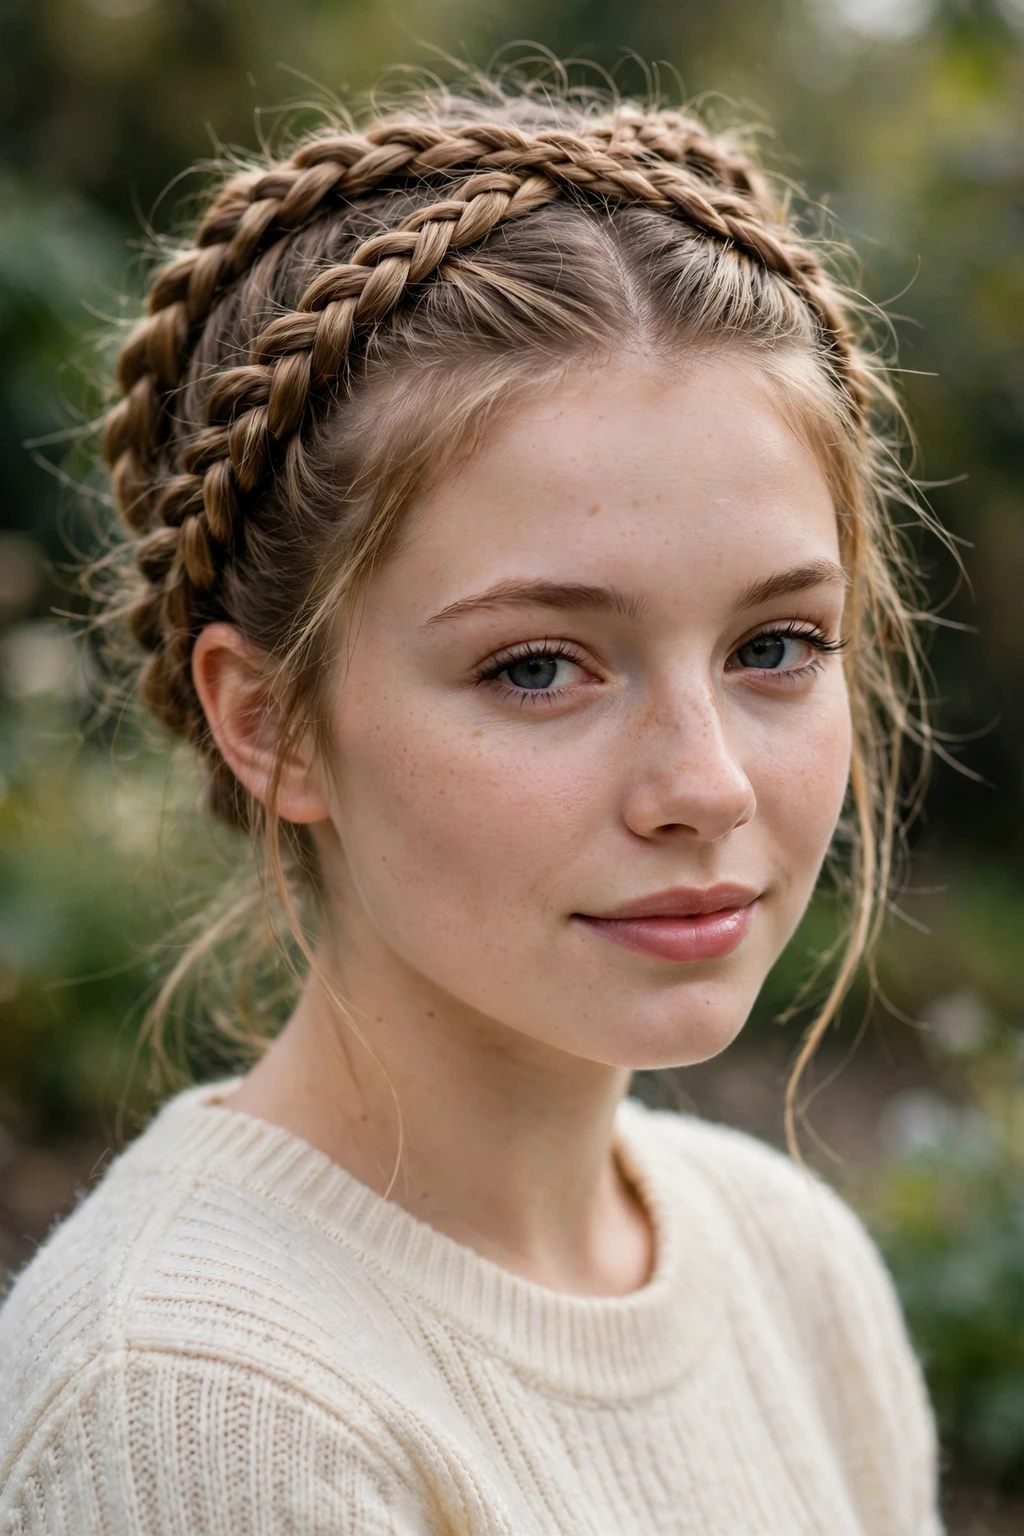
- Braid two Dutch braids, one per side
- Cross them over the top of the head
- Pin each braid flat along the other
- Tuck the ends out of sight
The milkmaid style crosses two Dutch braids over the crown and pins them into a woven halo. With raised Dutch plaits, the halo has real texture and presence, storybook pretty and secure all day.
Styling Tips for These Dutch Braid Styles
Three habits lift every dutch braid: cross the sections under with firm, even tension, braid on day old hair or add grip spray for hold, and pancake the finished edges gently for that wide, full finish. Practice the under crossing slowly at first; your fingers will speed up within a week.
Conclusion
Bold, raised and full of texture, these Dutch braid styles bring a fresh look to every length and occasion. Start with the classic, learn the under crossing, then try the doubles, the crown and the space buns. Save this guide, practice twice this week, and enjoy a braid that truly stands out. The raised plait photographs beautifully, holds through busy days and works with ribbons, buns and curls, so one technique quietly covers school runs, office days, weddings and festivals without ever looking the same twice at all this year.